Friday, December 23, 2011

Truck and trailer together

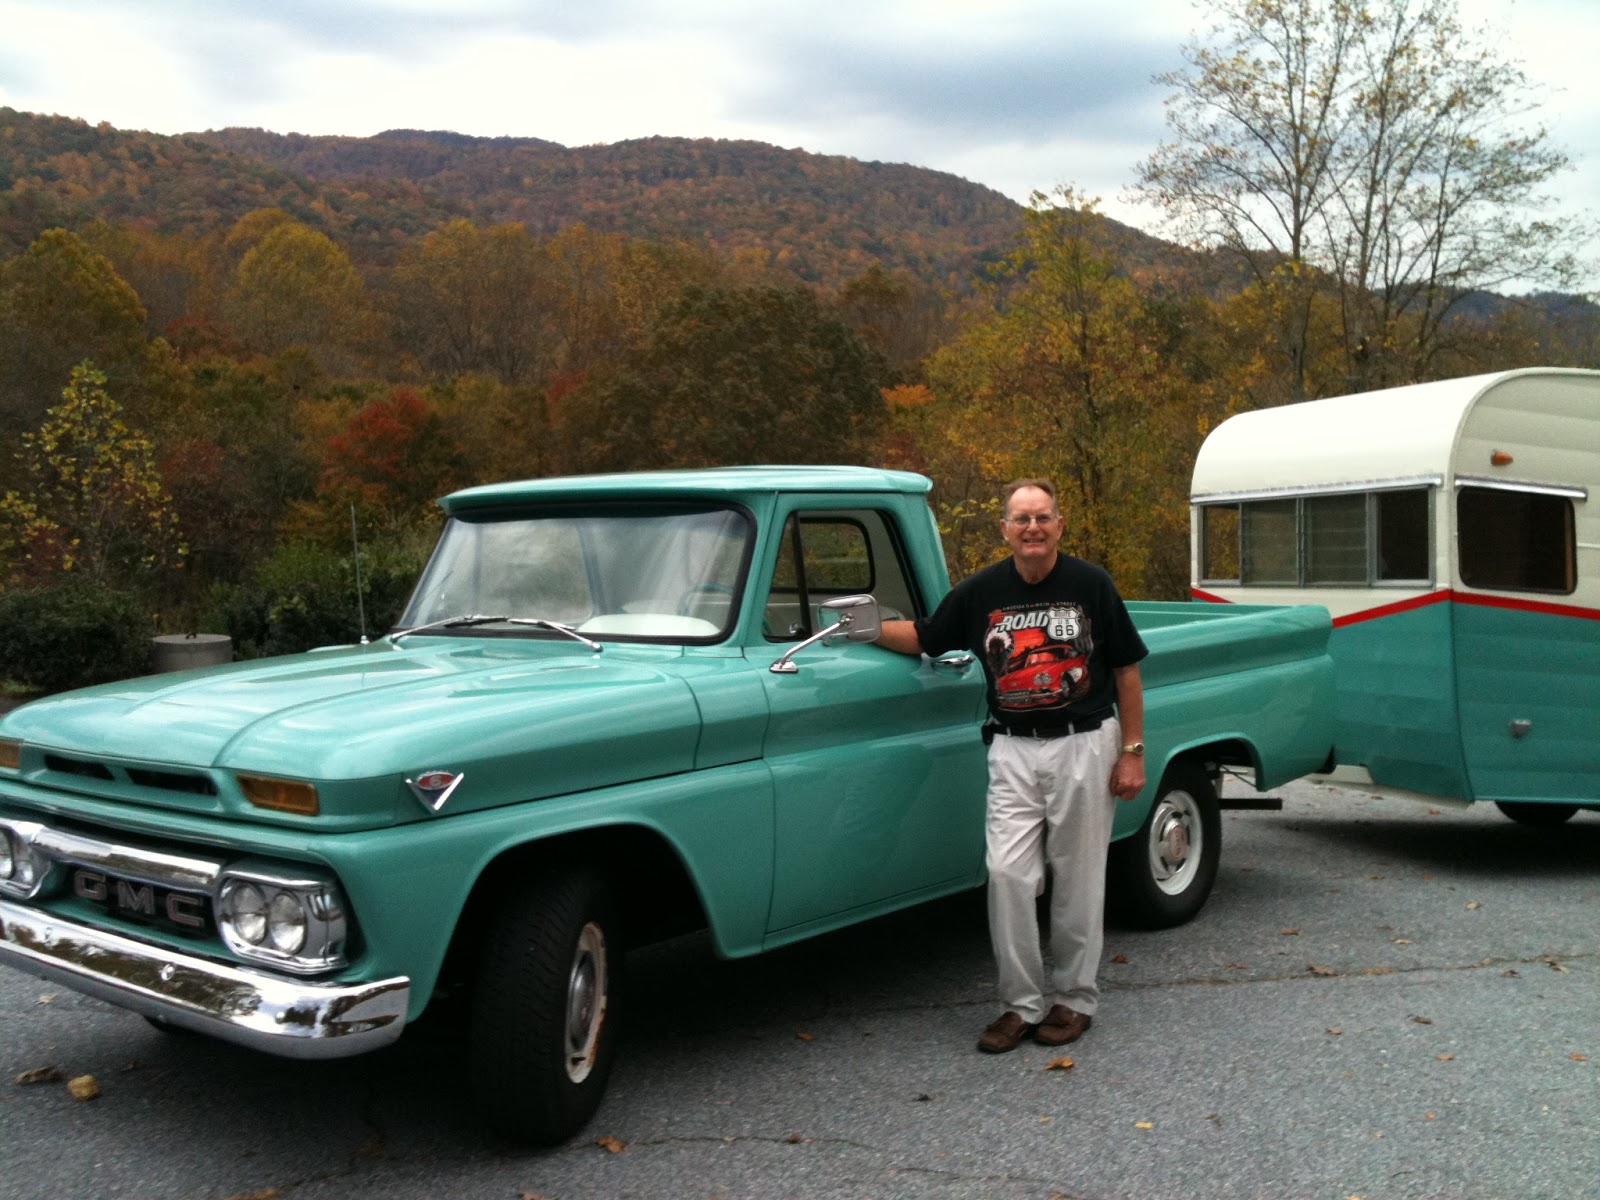
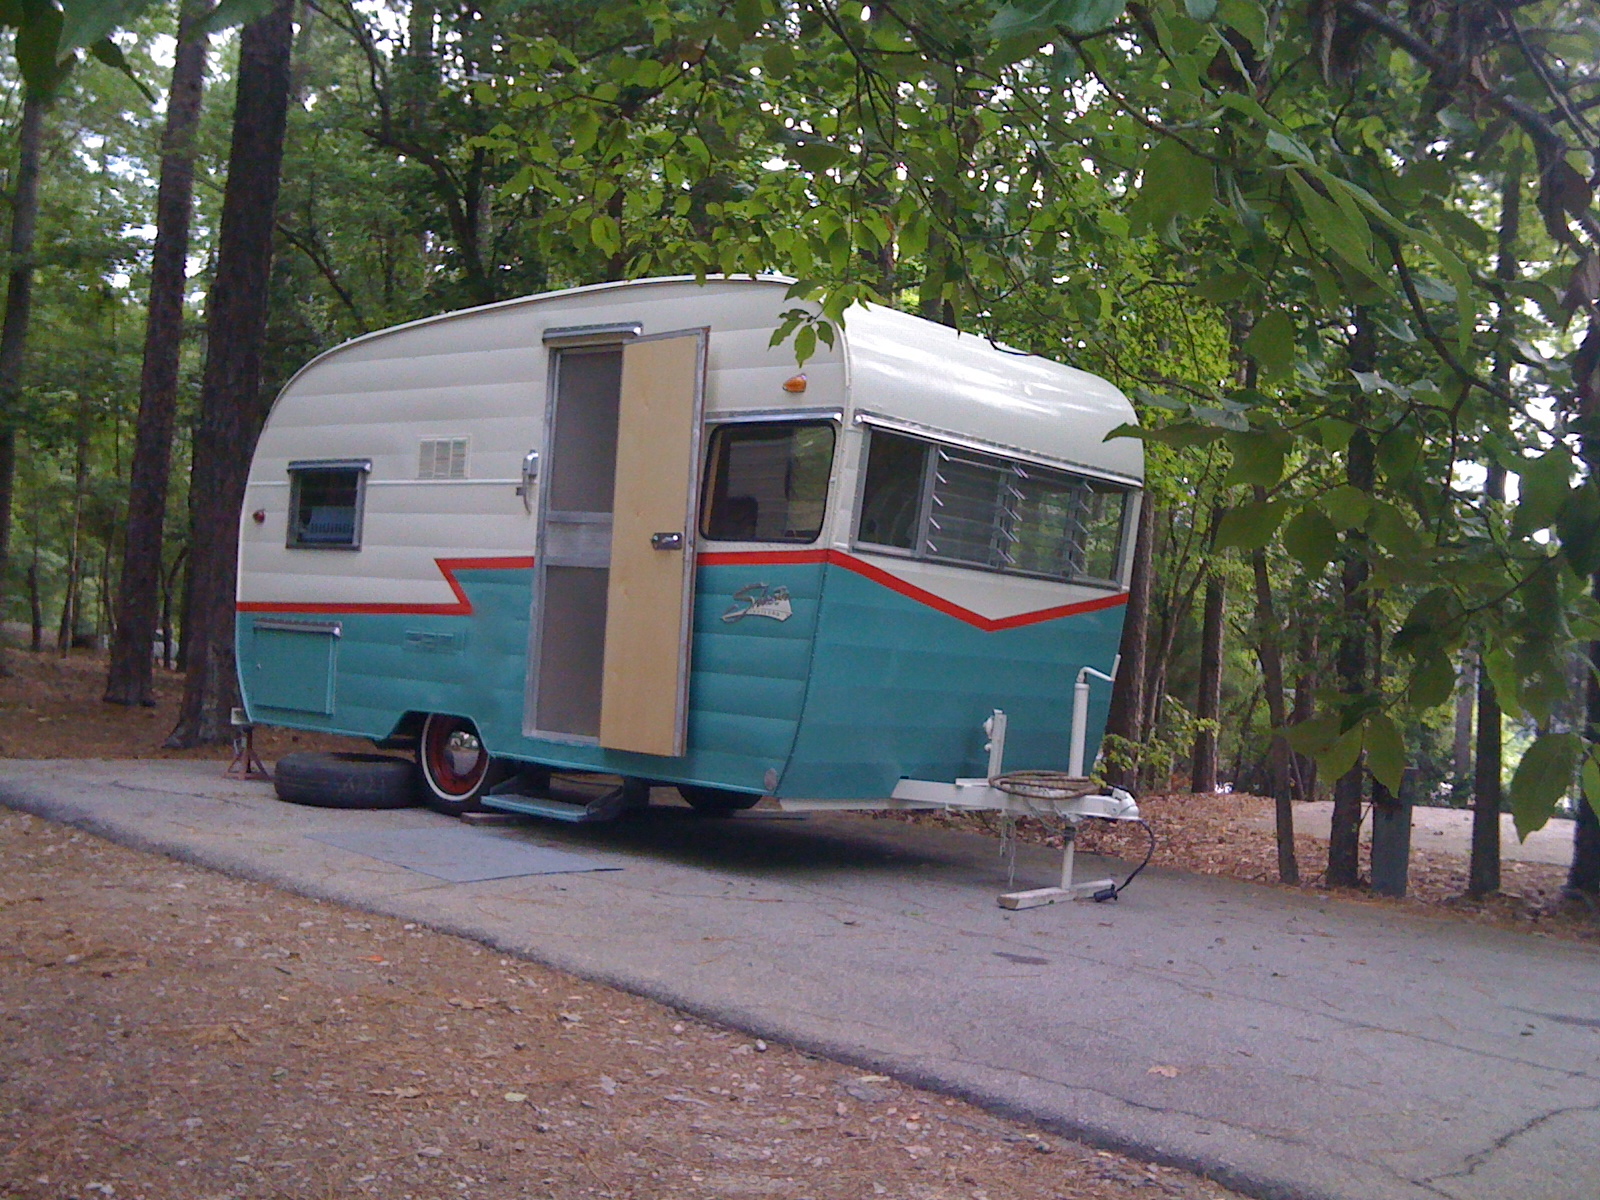
 This will be my last post for a couple of months as the trailer and truck are finished on the out side. I took this picture in the fall when leaves had already peaked but still had some color. This is the first time I had the truck and trailer hooked together. I am going to have to buy a hitch that drops down a little more so the trailer will be level when I pull it.
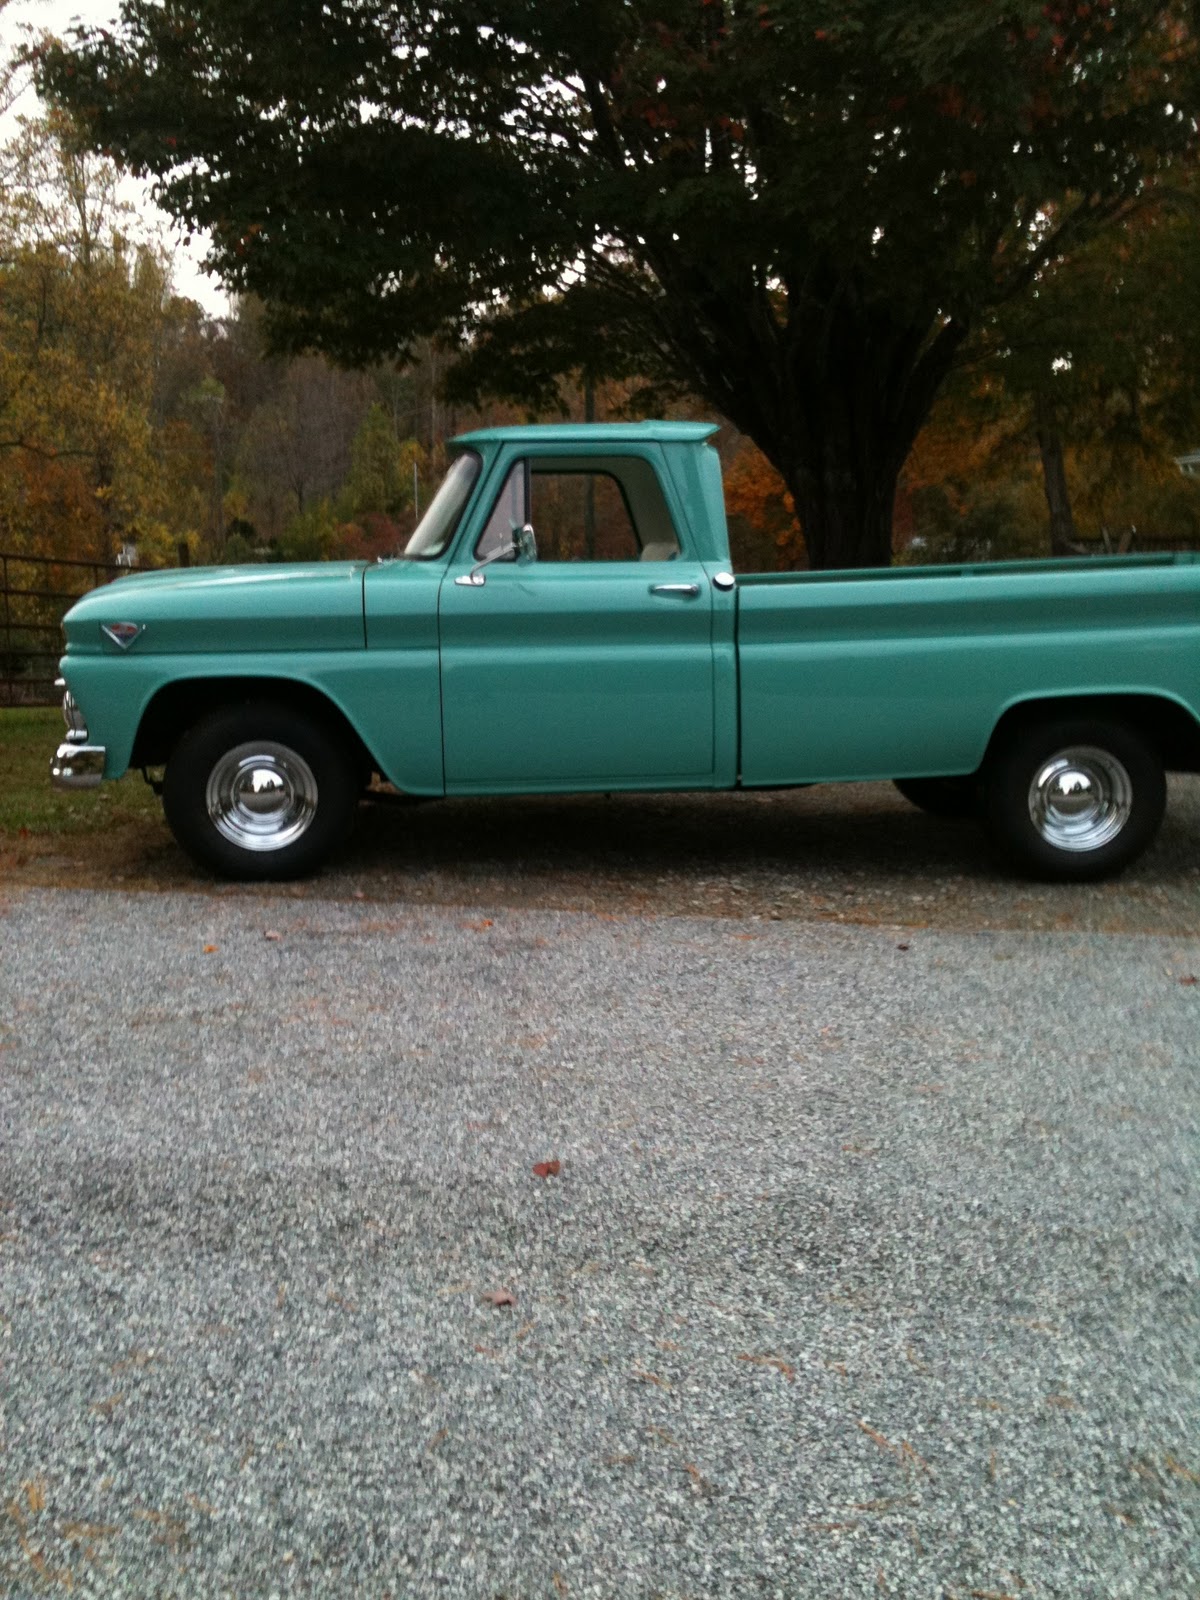
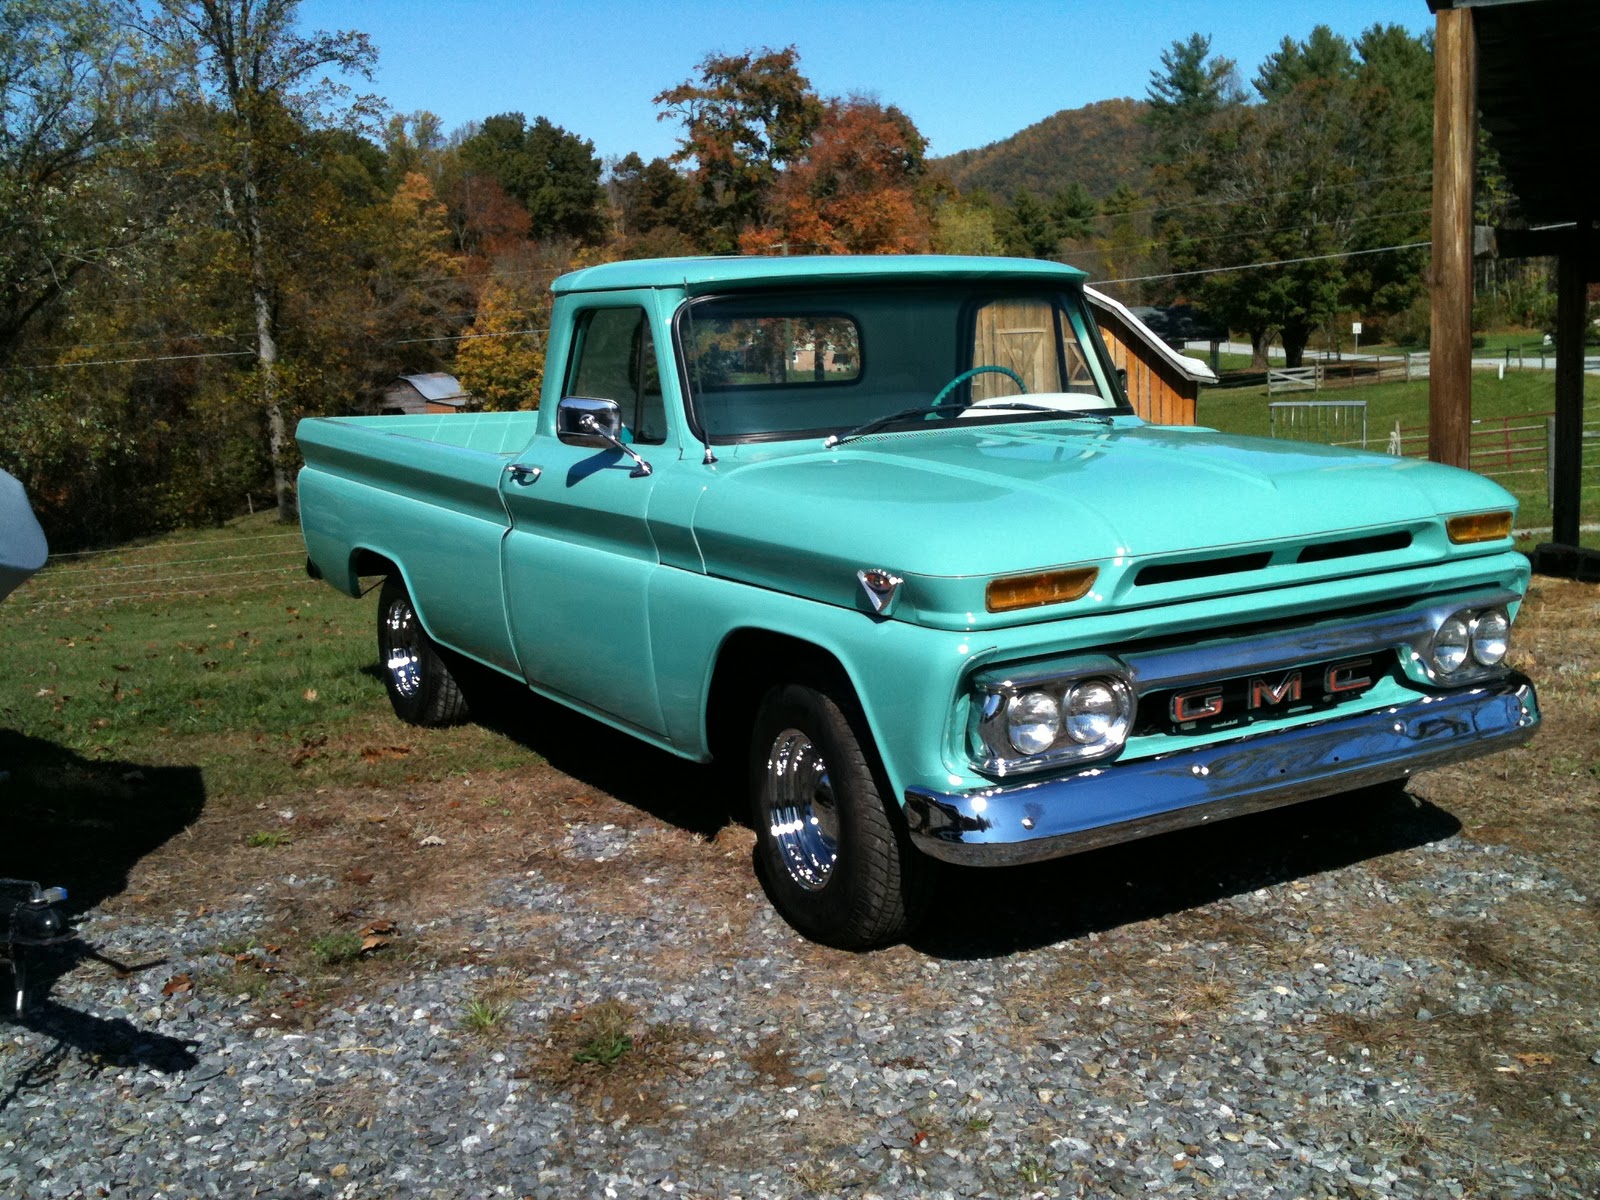
 This was my dad, Milo Clay Miller's truck,  he bought it in 1965. It is a GMC fleet side long bed. I had the truck restored this past summer and that was been a dream come true for me. This truck has the 305E V6 engine in it and four speed transmission .
 I took the ordinary wood that was in the bed out, and bought some hickory, planed to the correct thickness. I then ripped the boards to width and used dado blades to cut groves in boards. This turned out to be quite a project and needed some help to rip, and grove the boards.
 When dad bought the truck it had painted grille's and bumpers I replaced those with the chrome. I also bought chrome smoothie wheels for the tires. My wife thinks I am going through my second child hood.  She is probably right, but I sure enjoy the looks I get driving down the road.
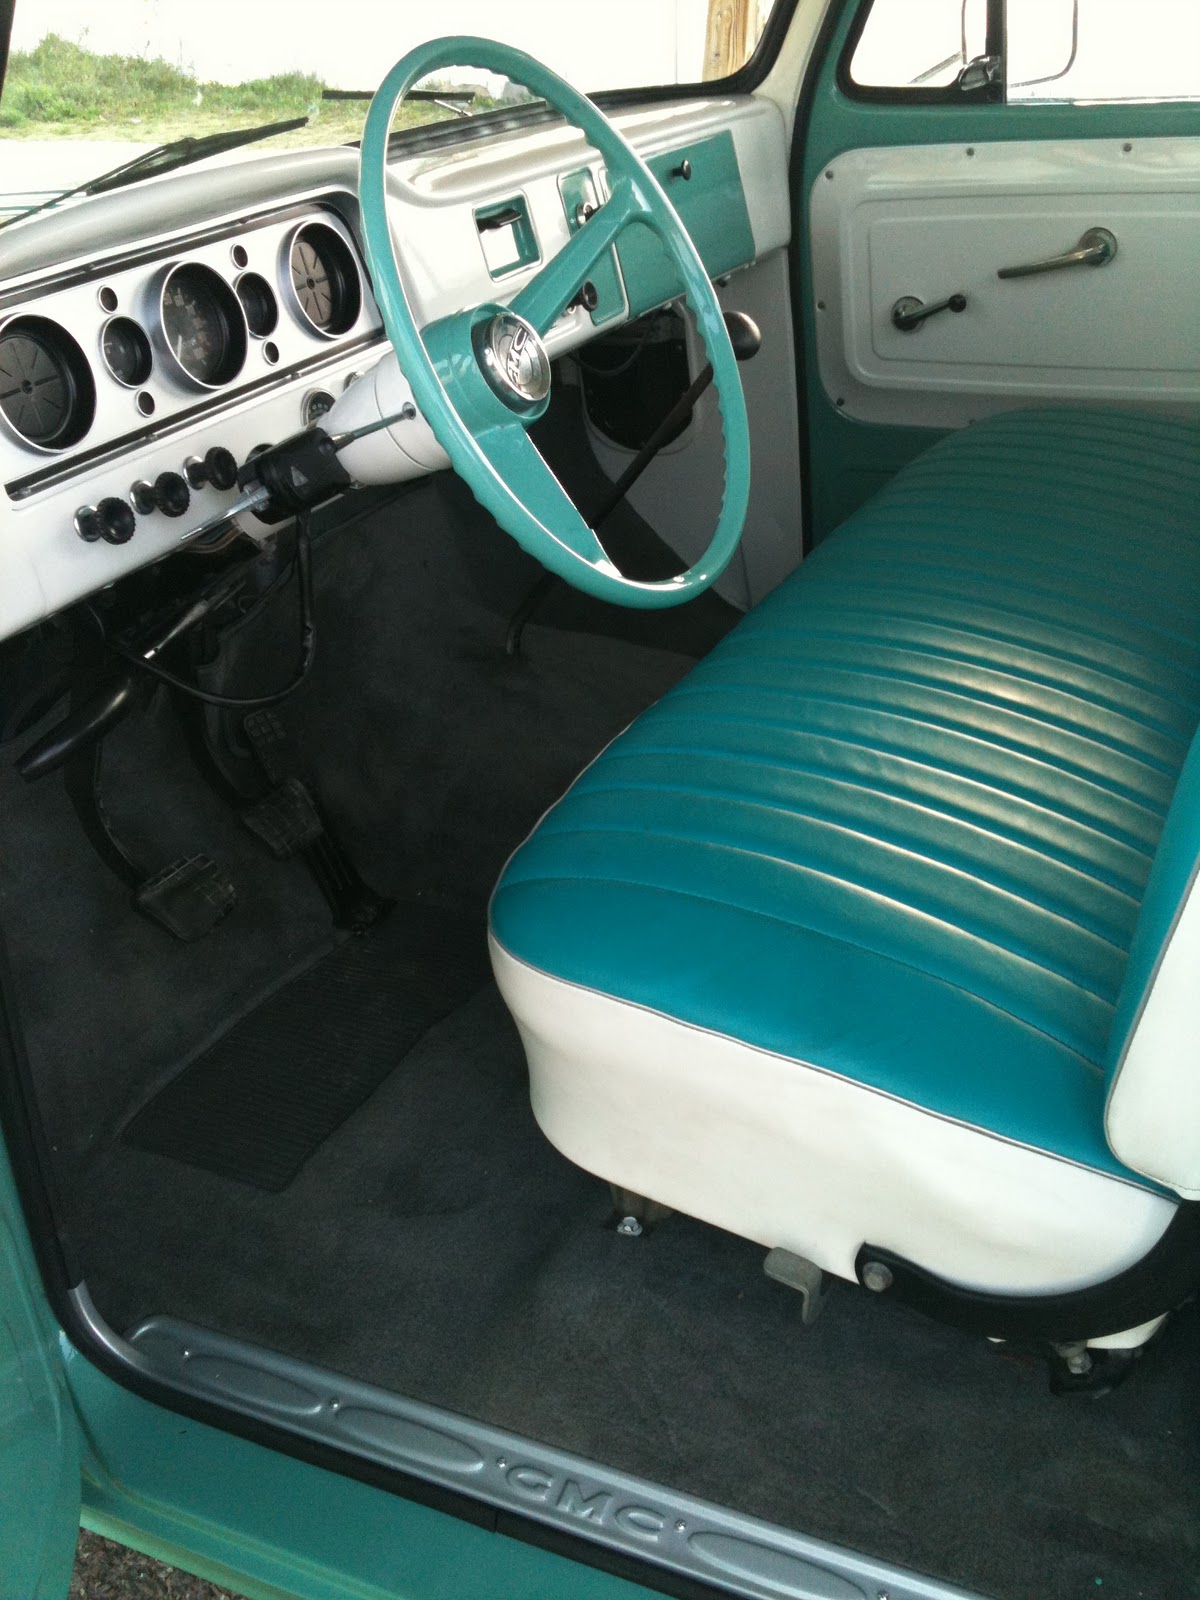
 Here you can see the inside of the cab and how it was painted. I had carpet put in and the seat that was reworked and covered to match those in the trailer.
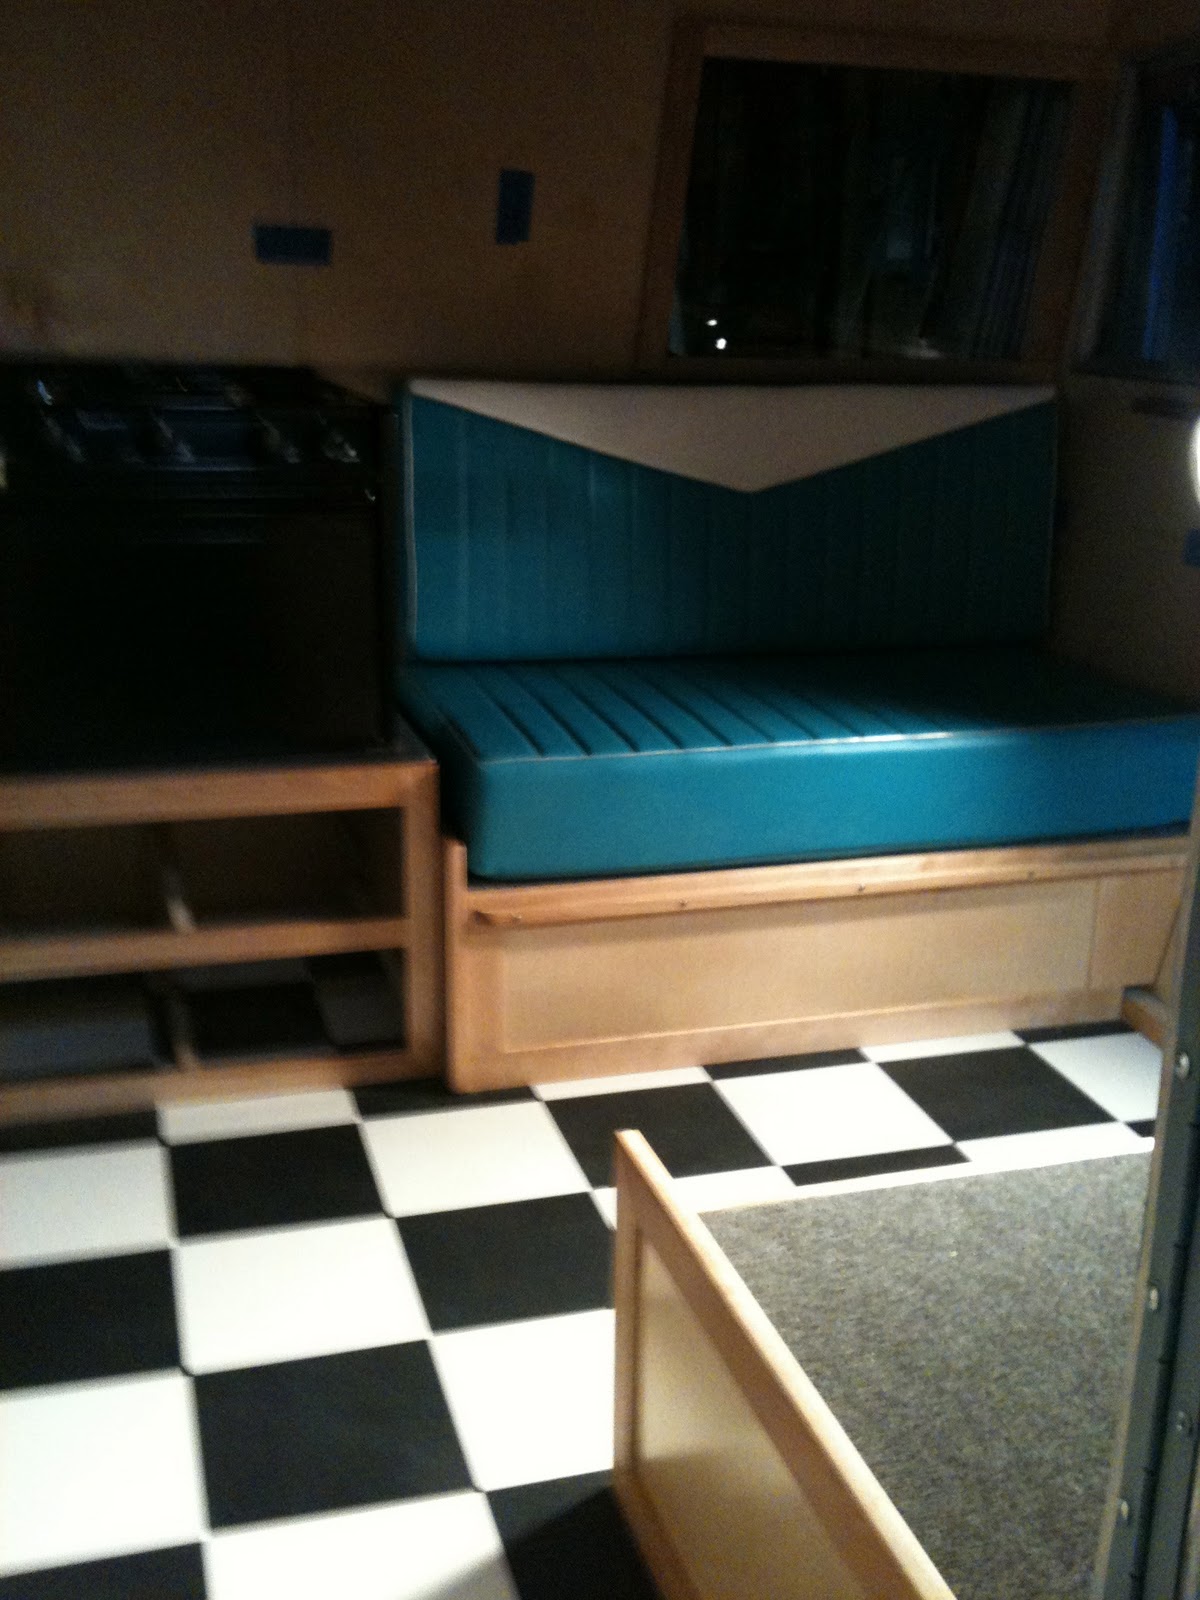
We used the trailer once even thought it was not finished on the inside. Didn't pull it with the GMC because the truck was not finished at that time . As soon as the whether permits I will start back on finishing the inside of the trailer, and will continue with my blog. Maybe this summer we might meet at a vintage rallies.

Saturday, December 17, 2011

Building the Front Booth


May 18th 2011

In this photo I am starting to build the frame for the booth. I also installed a new circuit breaker so we could start tying the circuits together in the new breaker box.


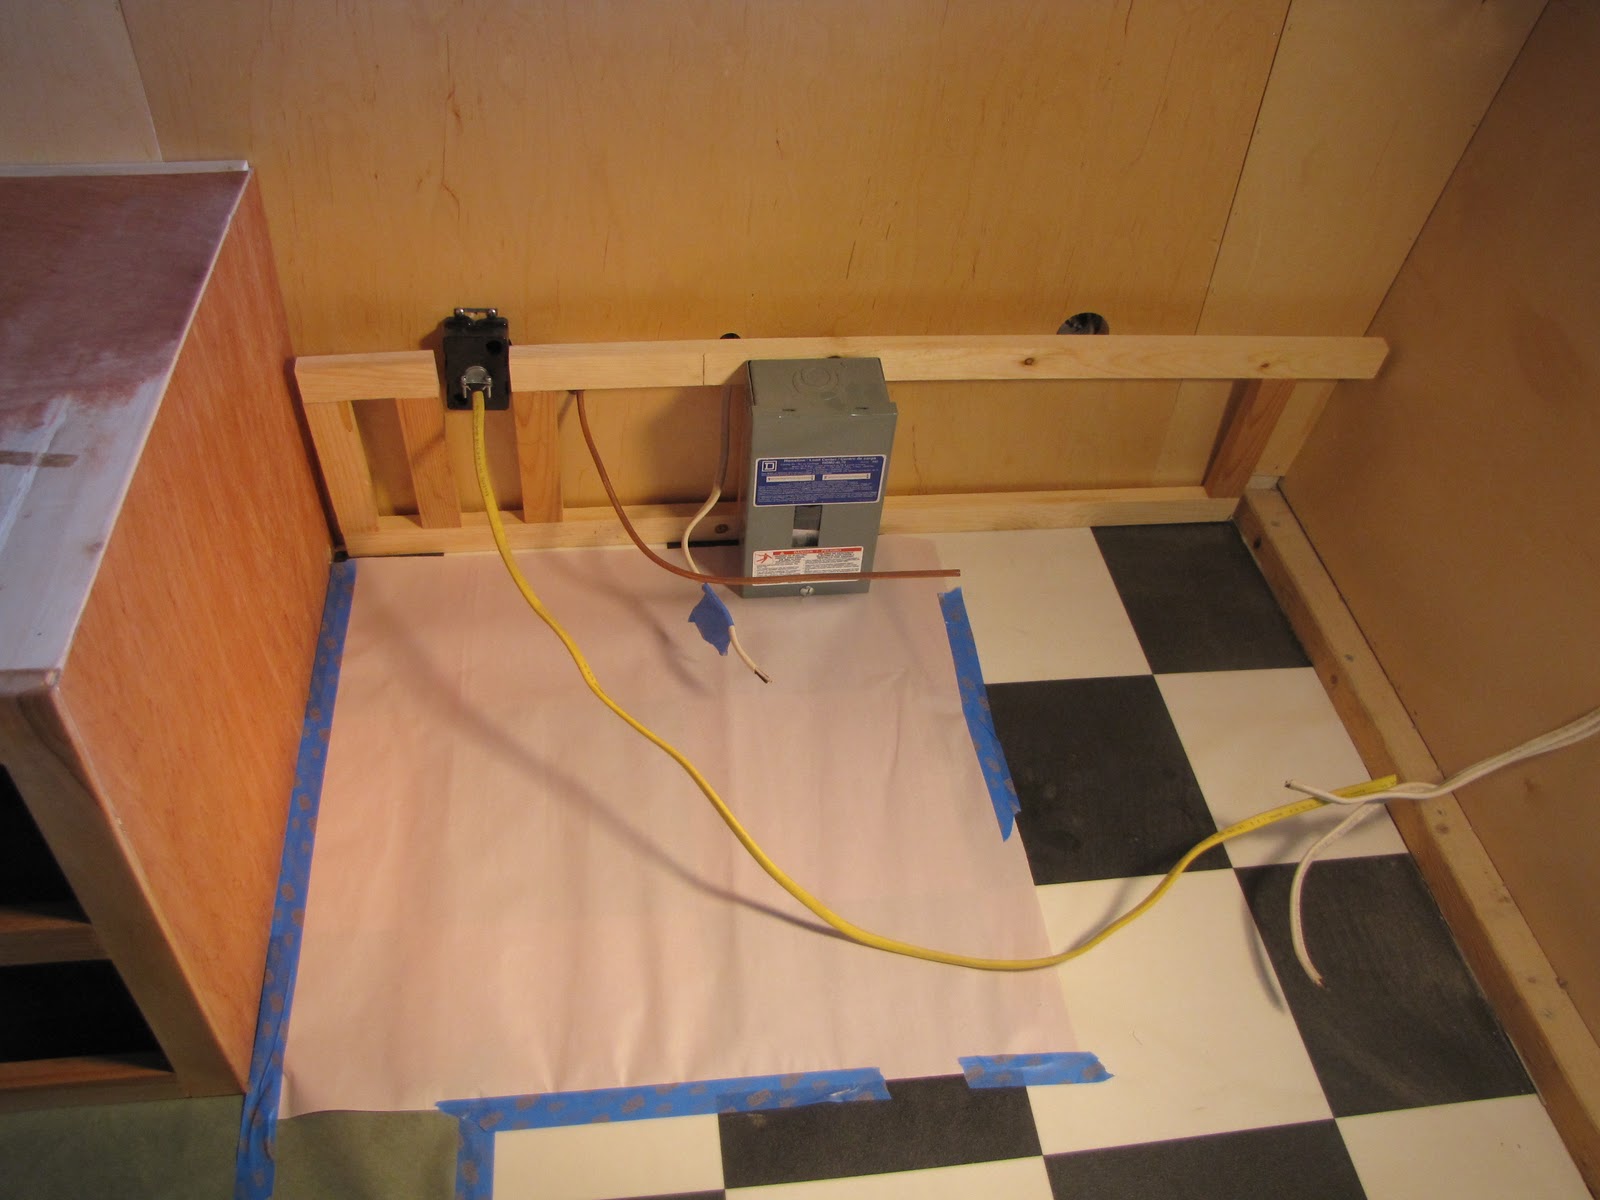
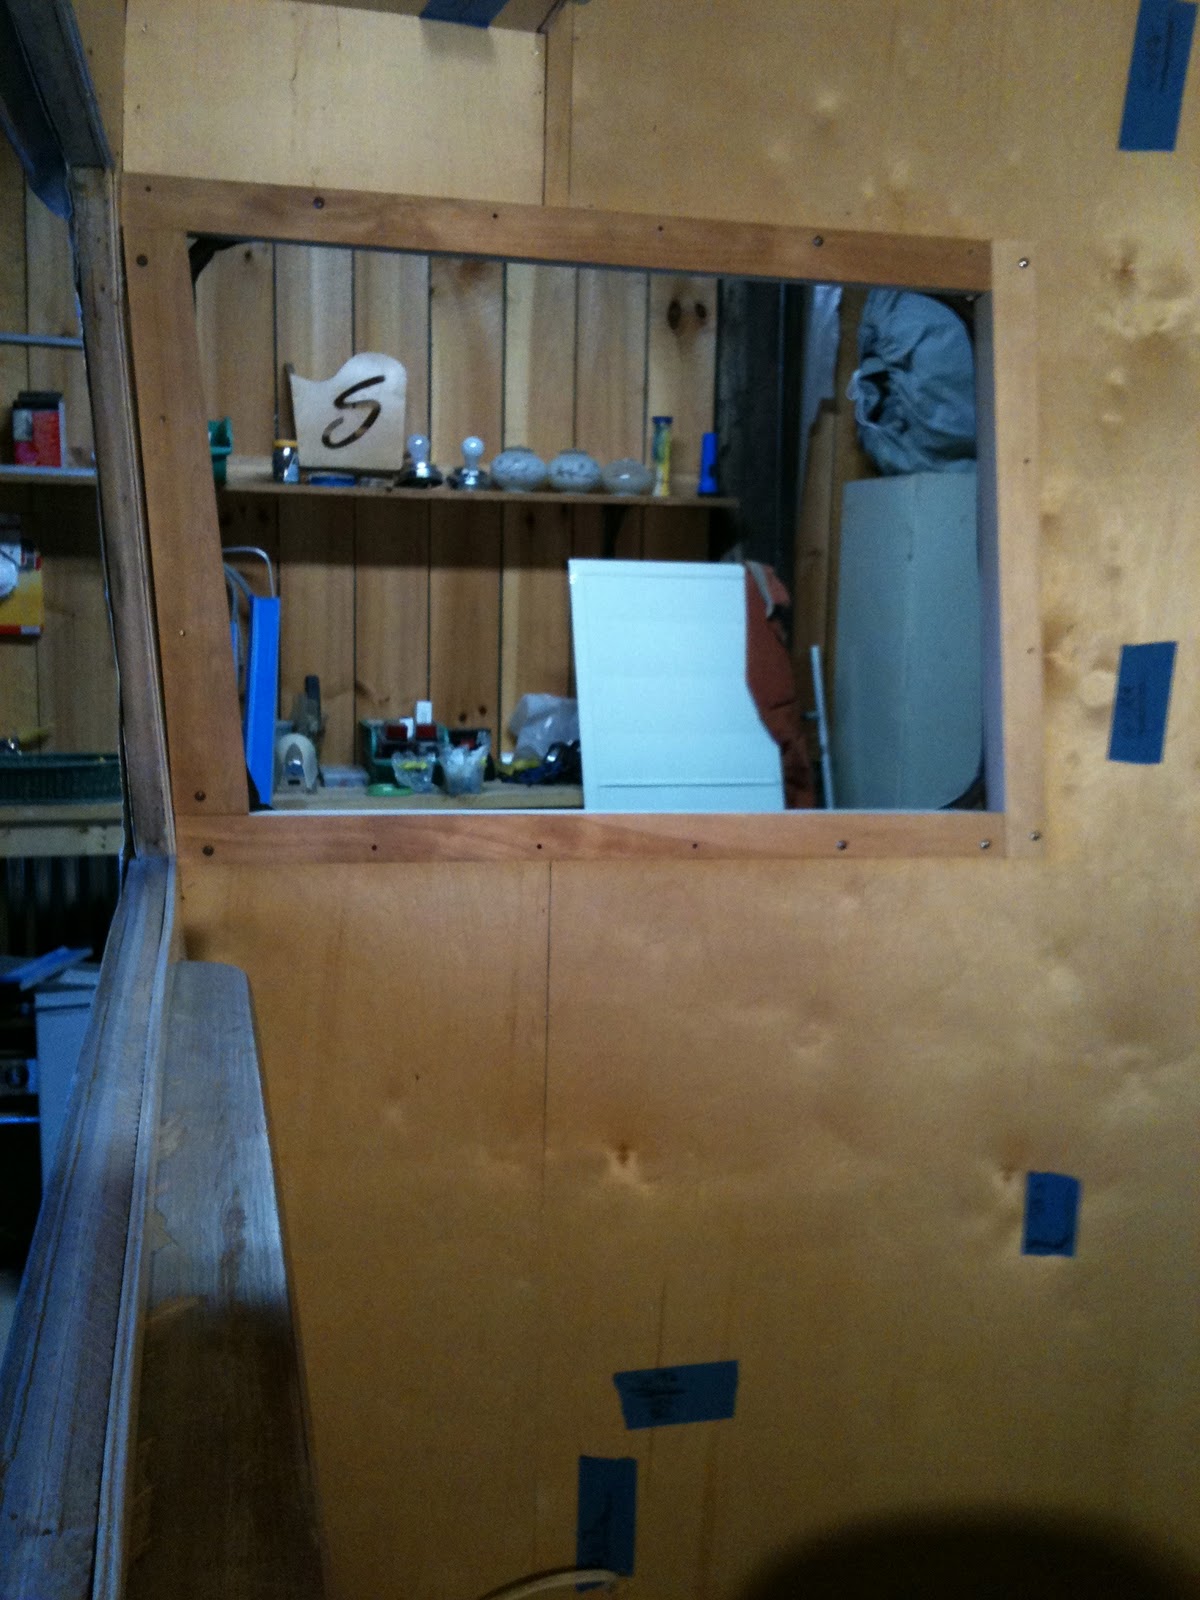
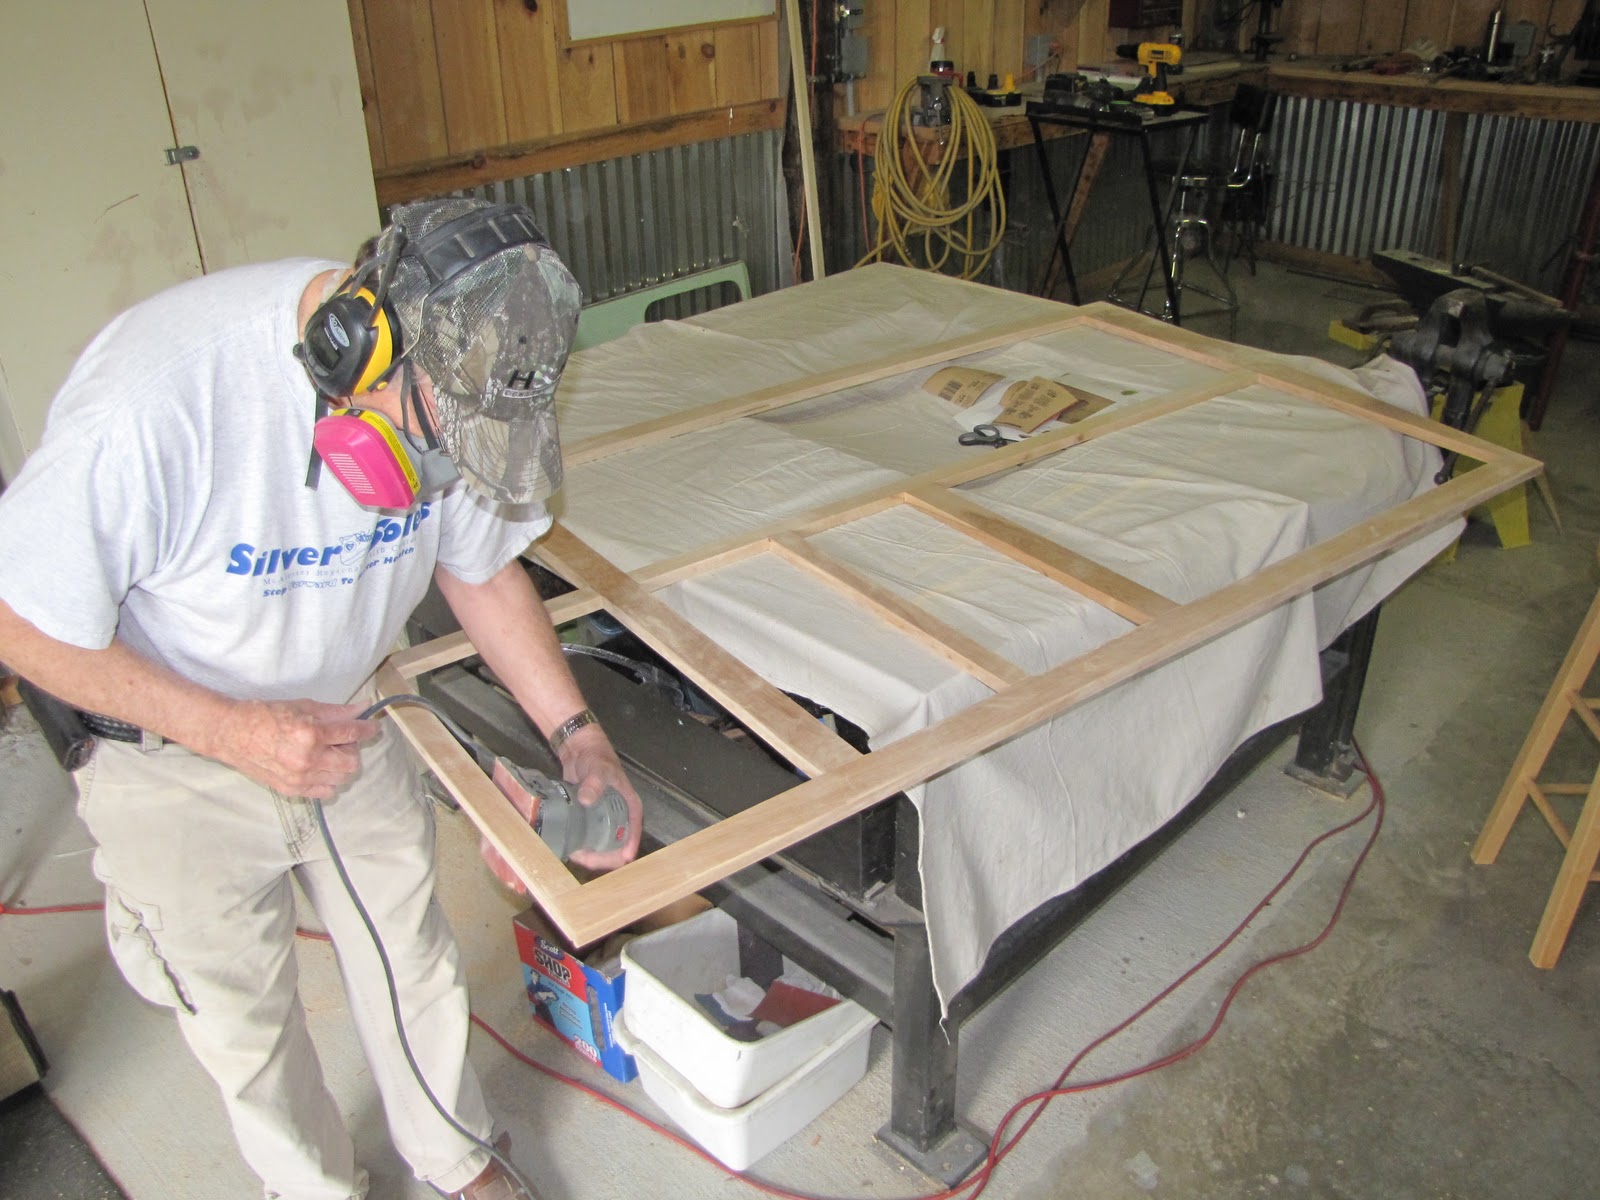
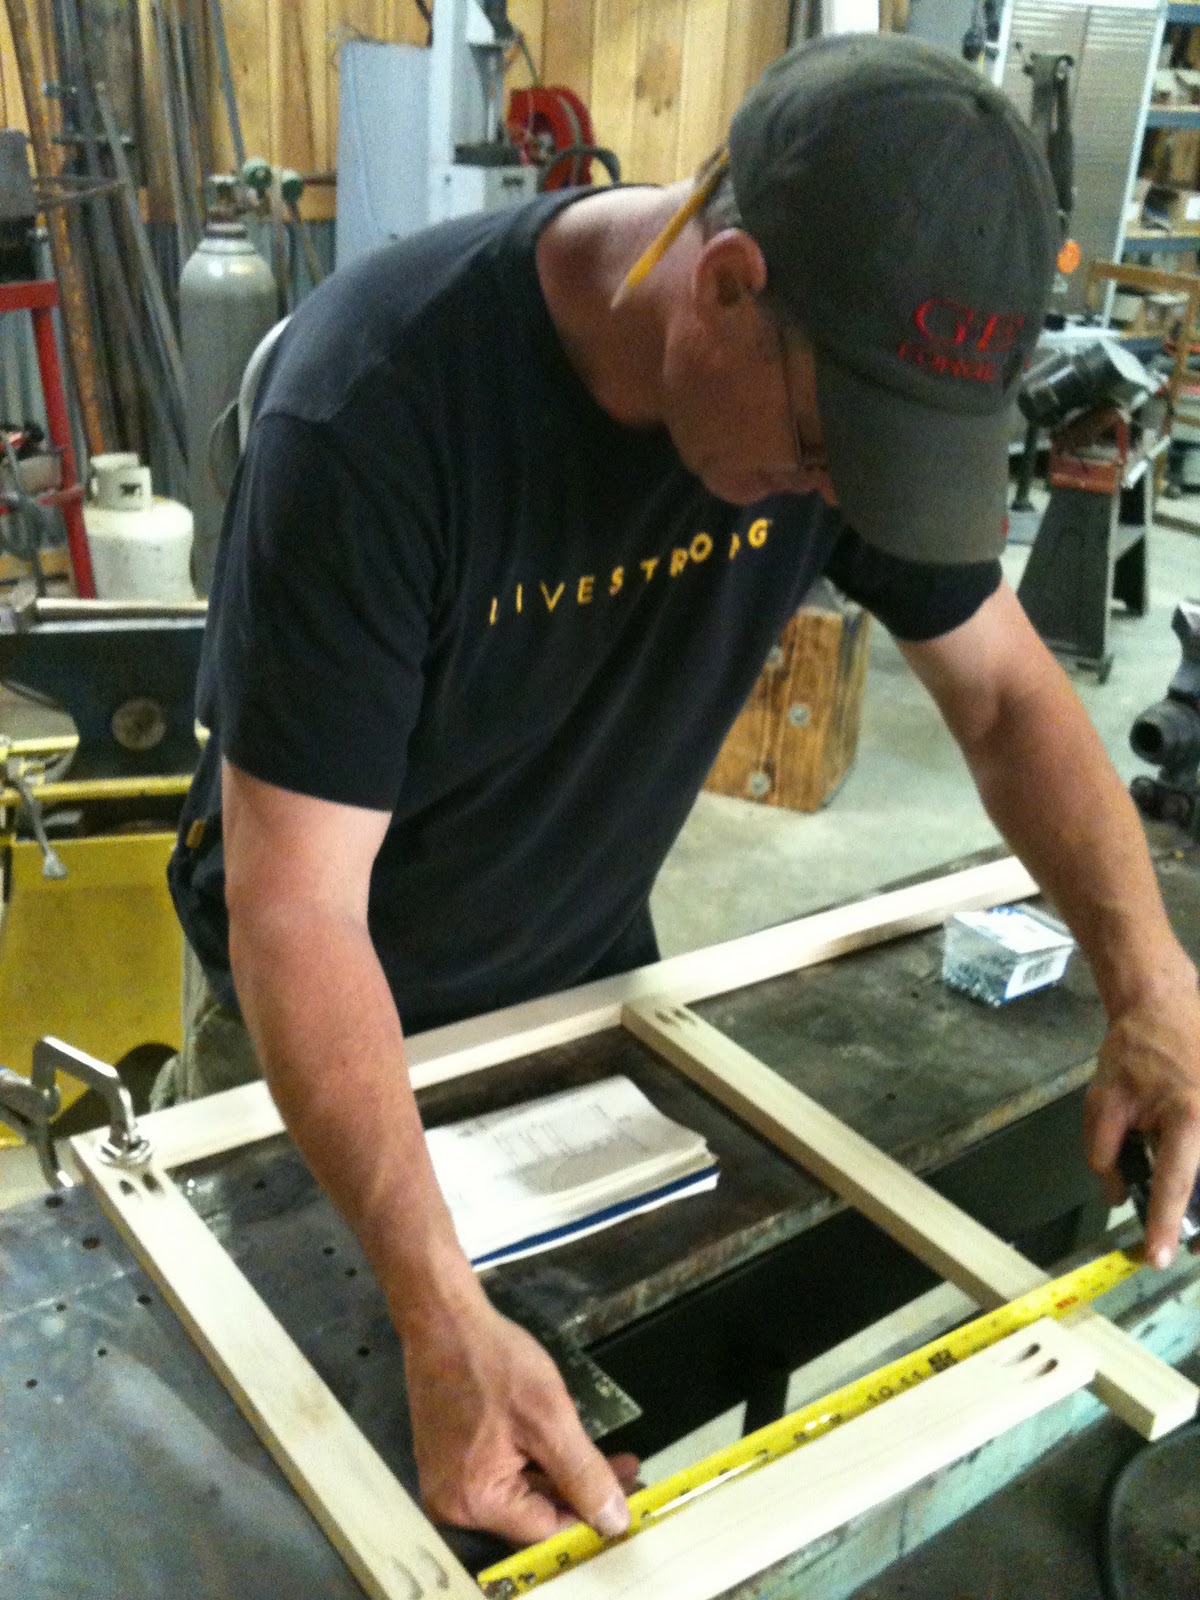
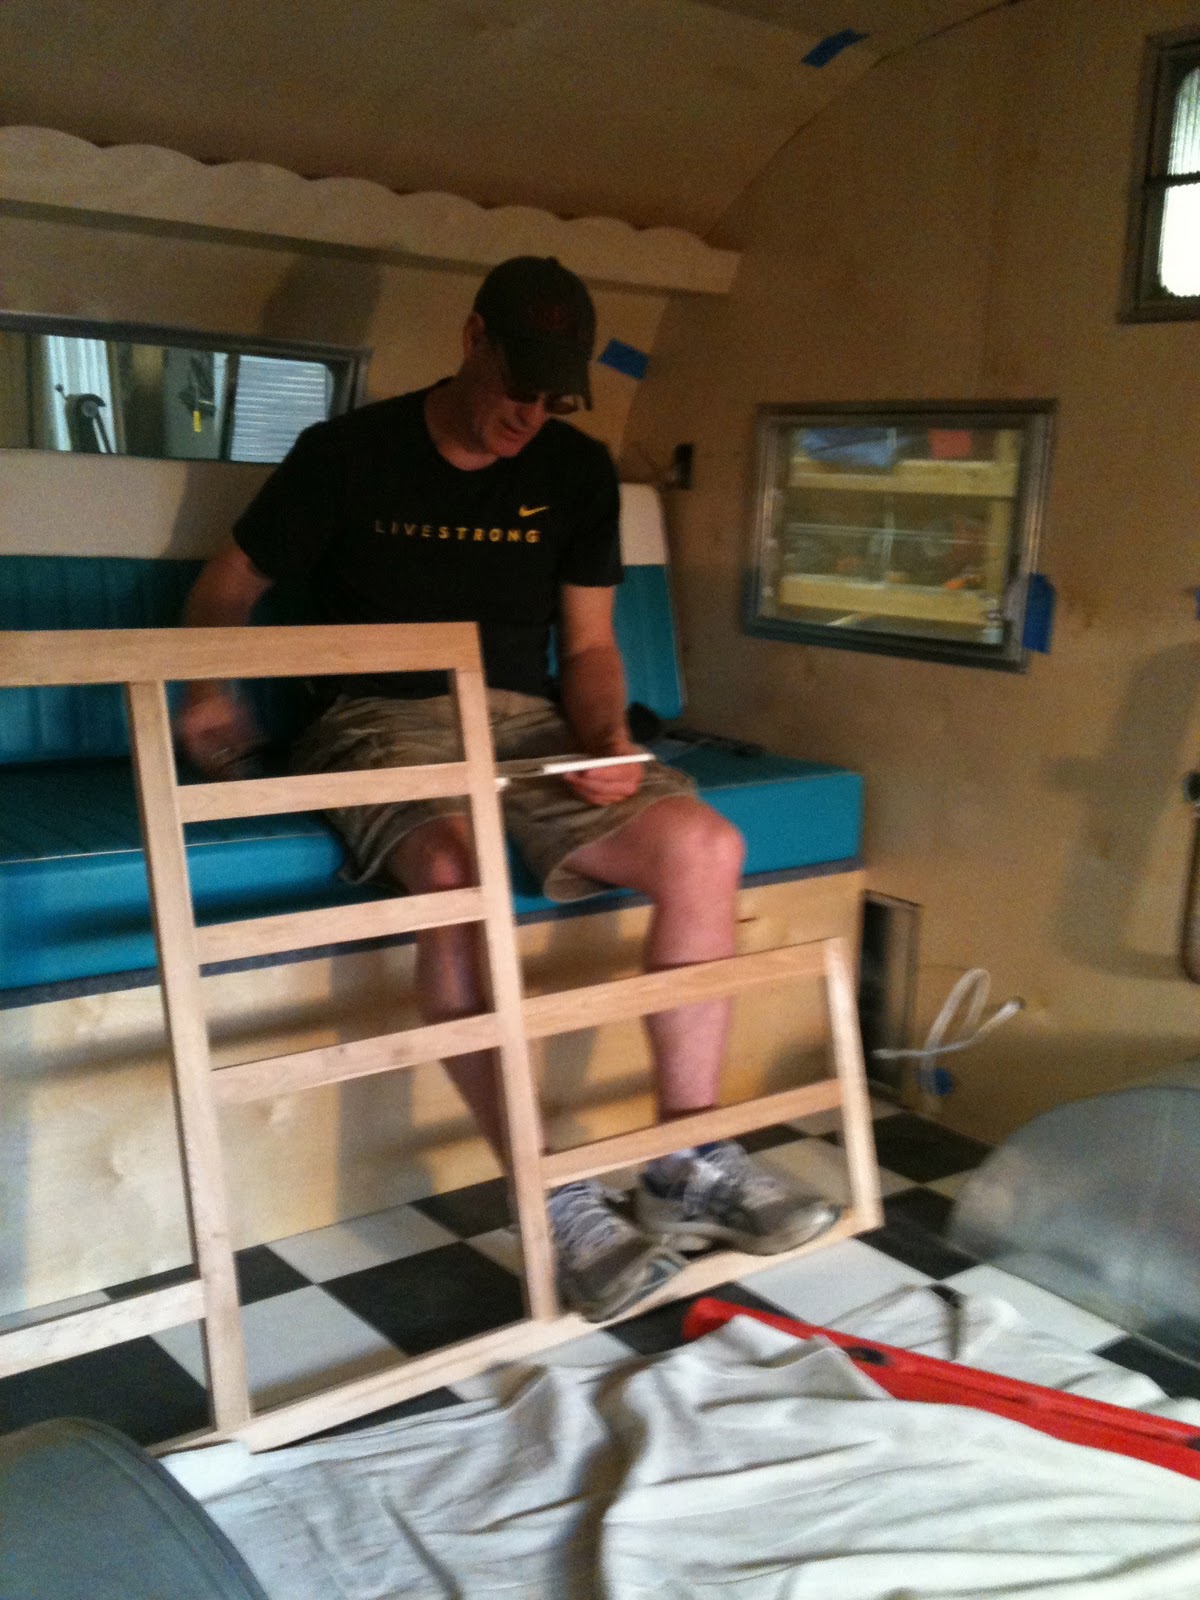
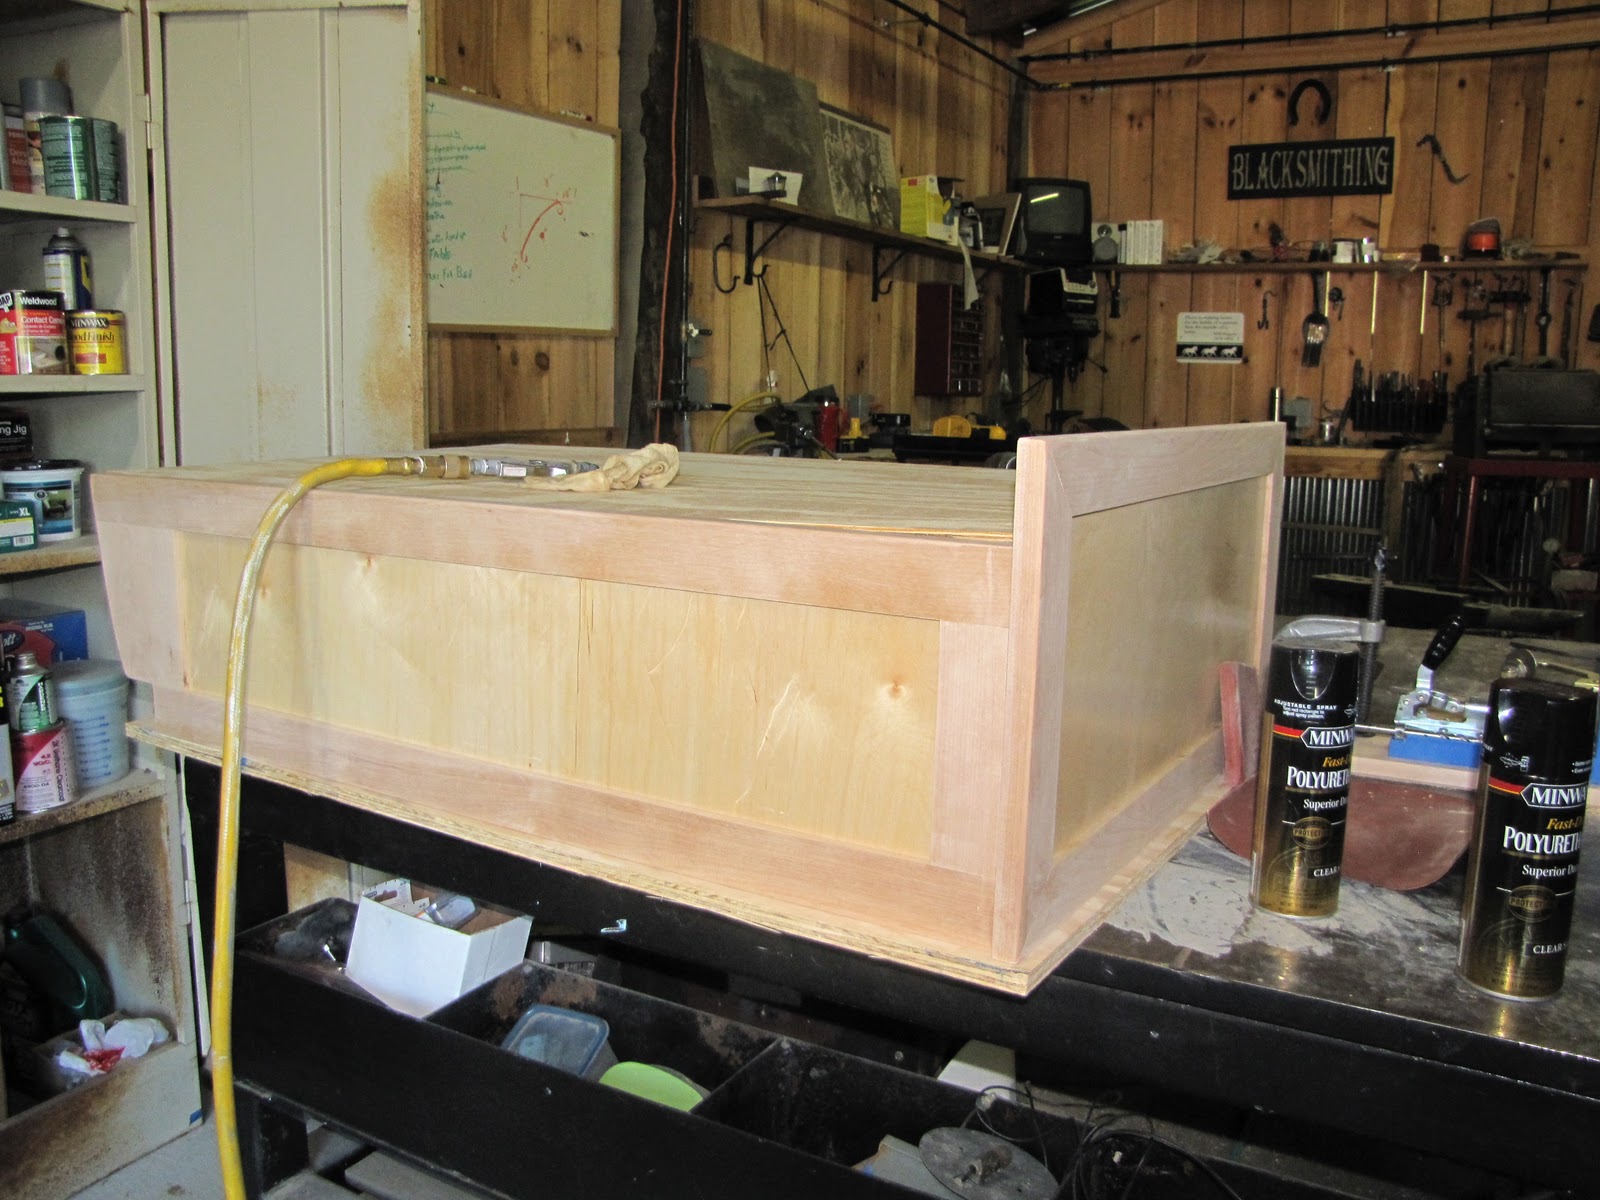
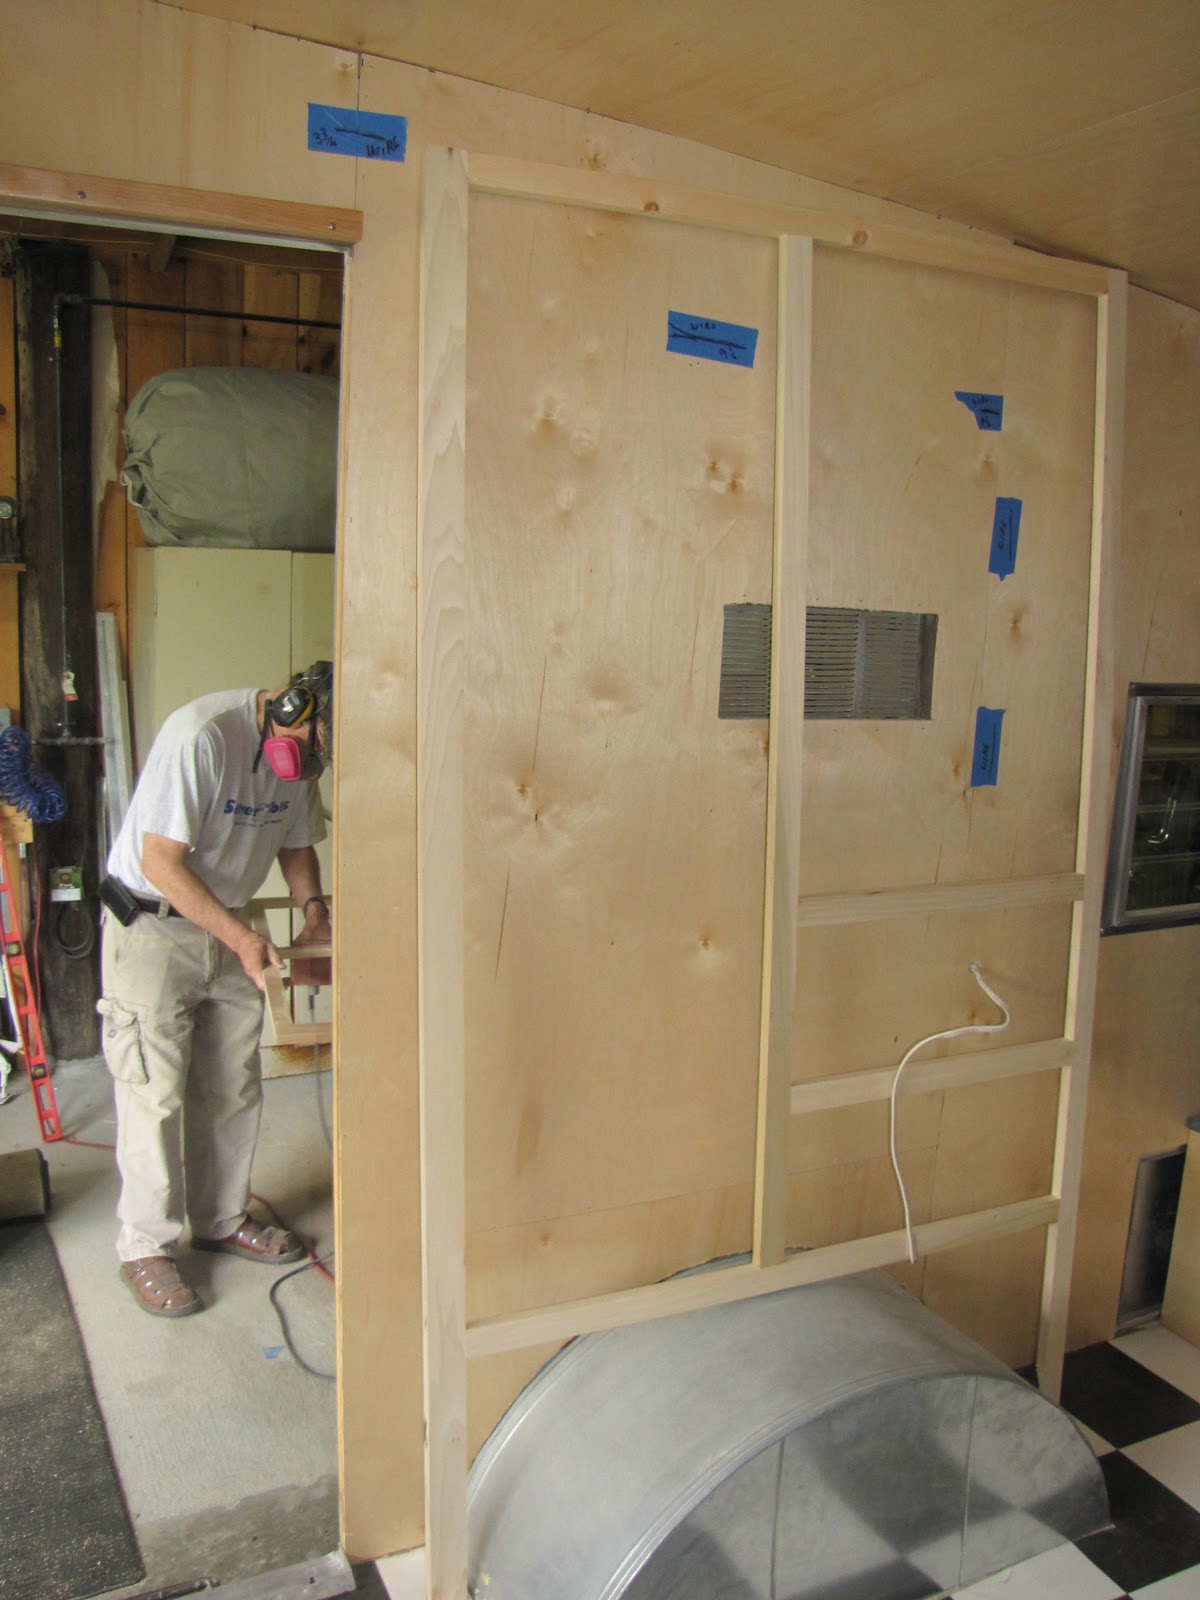
The picture on the right shows the booth frame that goes in on the right side of the trailer just inside of the door. The frame was built out of solid birch  On the and front I used birch veneer, then used plywood place on the top to hold the cushions in place.


                                                              I have completed the booth for the left side of the trailer that fits in next to the stove. all have put the cushions in place. The cushions were made out of 6 inch foam. They are very comfortable and the material used to cover the booth seats matches the seat that I had recovered for my 1965 GMC truck. We are going to use that GMC truck that we are going to use to pull the trailer.

This picture shows the completed booth on the right as you come in the trailer door.  The table sets between the two booths. Letting down both booth and rearranging the cushions makes a bed in the front of the trailer.

Monday, December 12, 2011

Installing countertop and appliances

April 20 2011


Here you can see the refrigerator has been installed on the left, both it and the stove are black. I would have liked to put in a two way unit but the expense was more than I wanted to pay. Each time we go out camping or to a vintage rallies it will only be for a few days at a time.


 I have the plywood counter top in place, with the the hole cut out for the sink. Next I will be getting the Formica ready to glue down .


The stove is set in place but before I fasten it down I will have to cut three pieces of Stanley steel to be put down on the back, side and bottom of this opening. The steel will help protect the wood from the heat put off by the stove .


In this photo you can see that the Formica  has been glued down. The sink and facet have been installed

Saturday, December 10, 2011

Building closet cabinet

 April18, 2011


After building the frame work I would sand and finish the frame before installing it in the trailer.


 This is the frame work for the closet and refrigerator, I also have some drawers below the refrigerator. This is one place I made a change from the original pattern, the old pattern had the refrigerator on the bottom, I wanted it higher so I wouldn't have to lean down each time I needed something out of the refrigerator.


You can see the space made for the refrigerator and the space for the drawers below it. On left side of the closet wall you can see has supports for shelves.


The frame work is just about completed and has been installed . The original refrigerator was gas but it was in bad shape, so I replaced it with a new one that is electric. You can see the vent in the side of the trailer that will keep it from over heating.


 In the bottom picture when when we had completed the frame we then installed a piece of finished birch veneer on the the outside of the closet frame.                                                               

Friday, December 9, 2011

Building Cabinet Frames


 April 9 2011


I used the old cabinet frame for a pattern but we did change it a little. We built the new frame out of solid birch. I bought a special jig at Lowe's so we could drill each piece of wood from behind and then pull it up tight with special wood screws that came with the the jig. This was much faster and easier than going back with wooden dowels. I tried that first, but got tired of throwing wood away when the dowels didn't match the holes. LOL


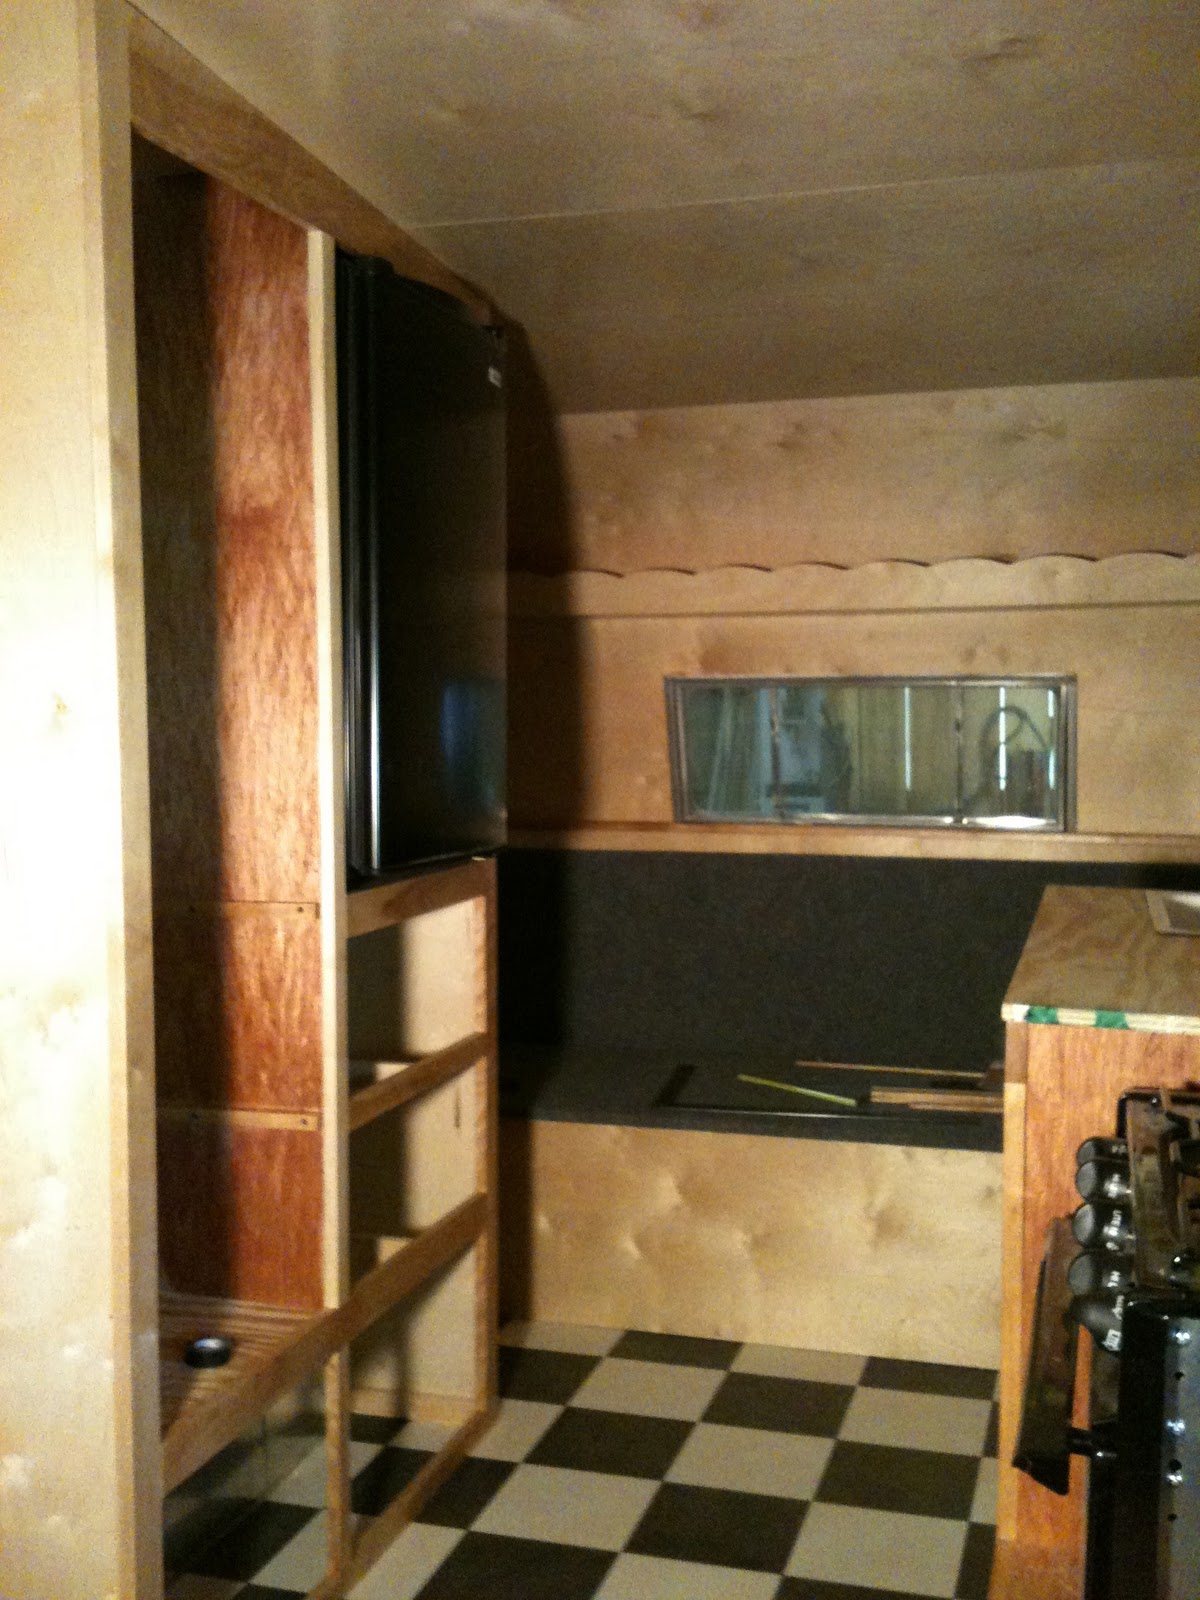
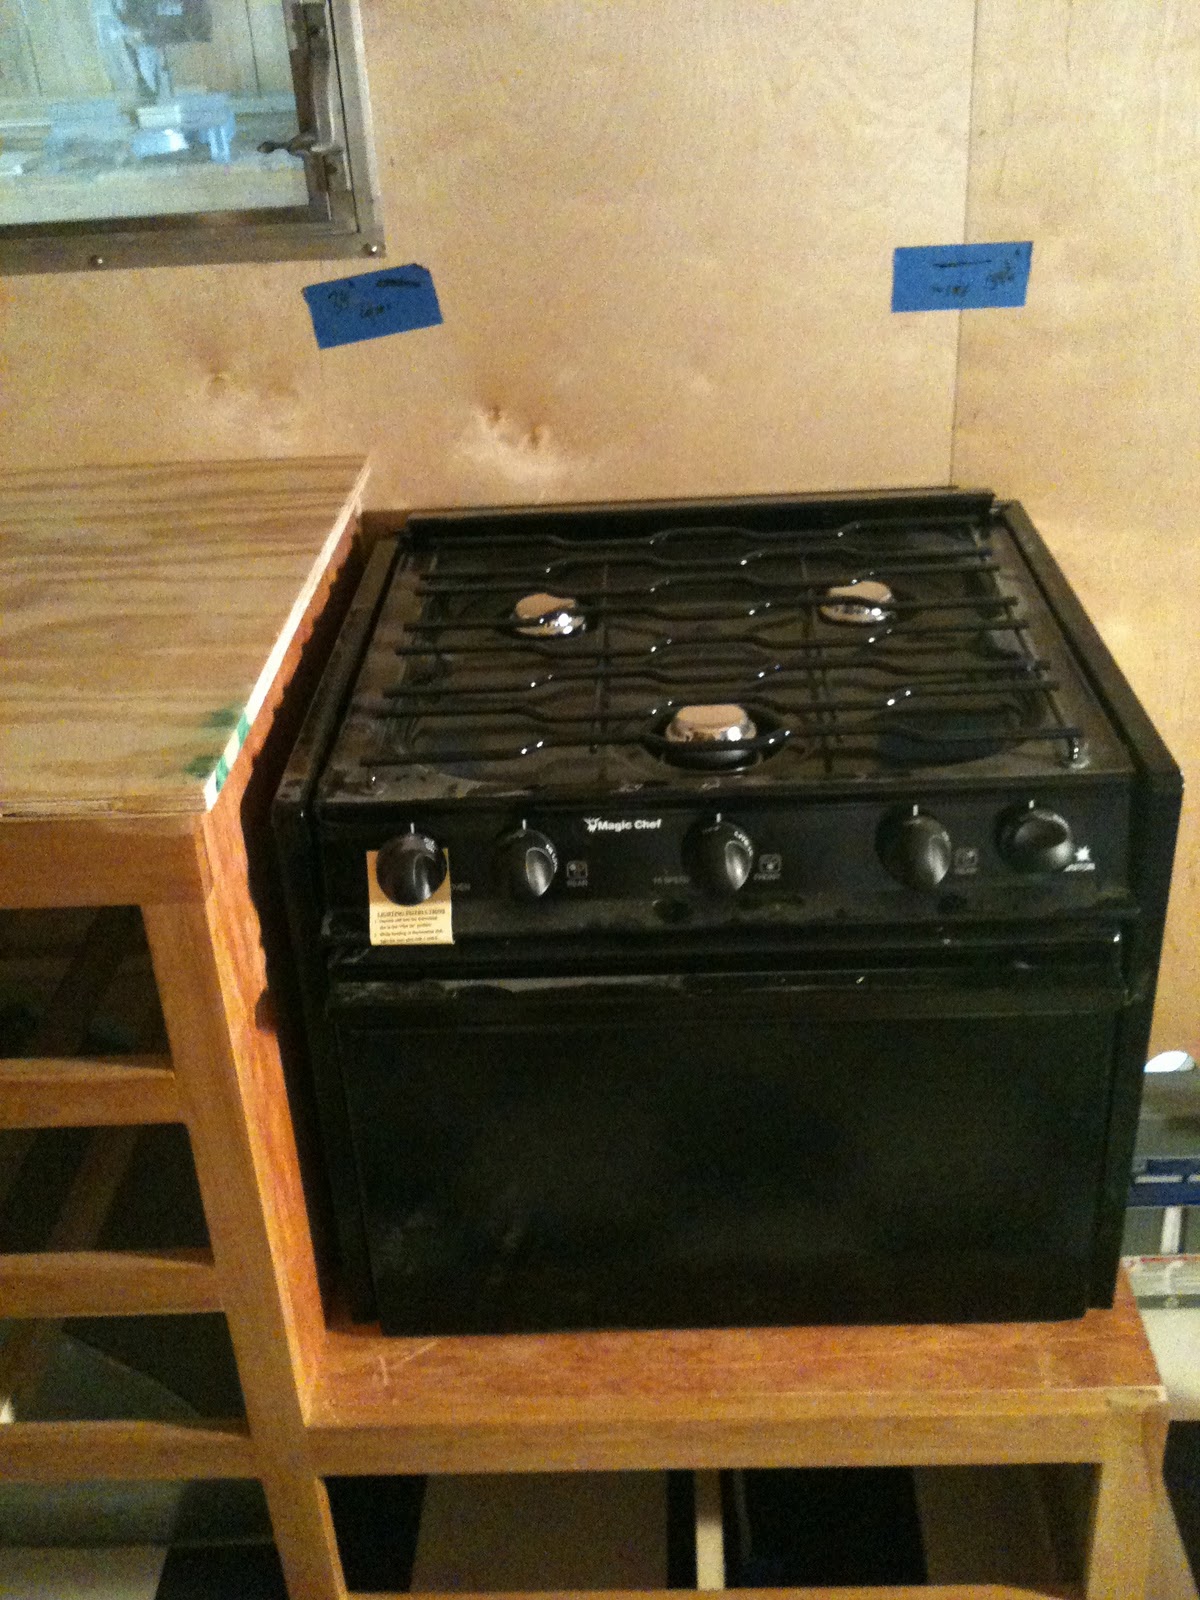
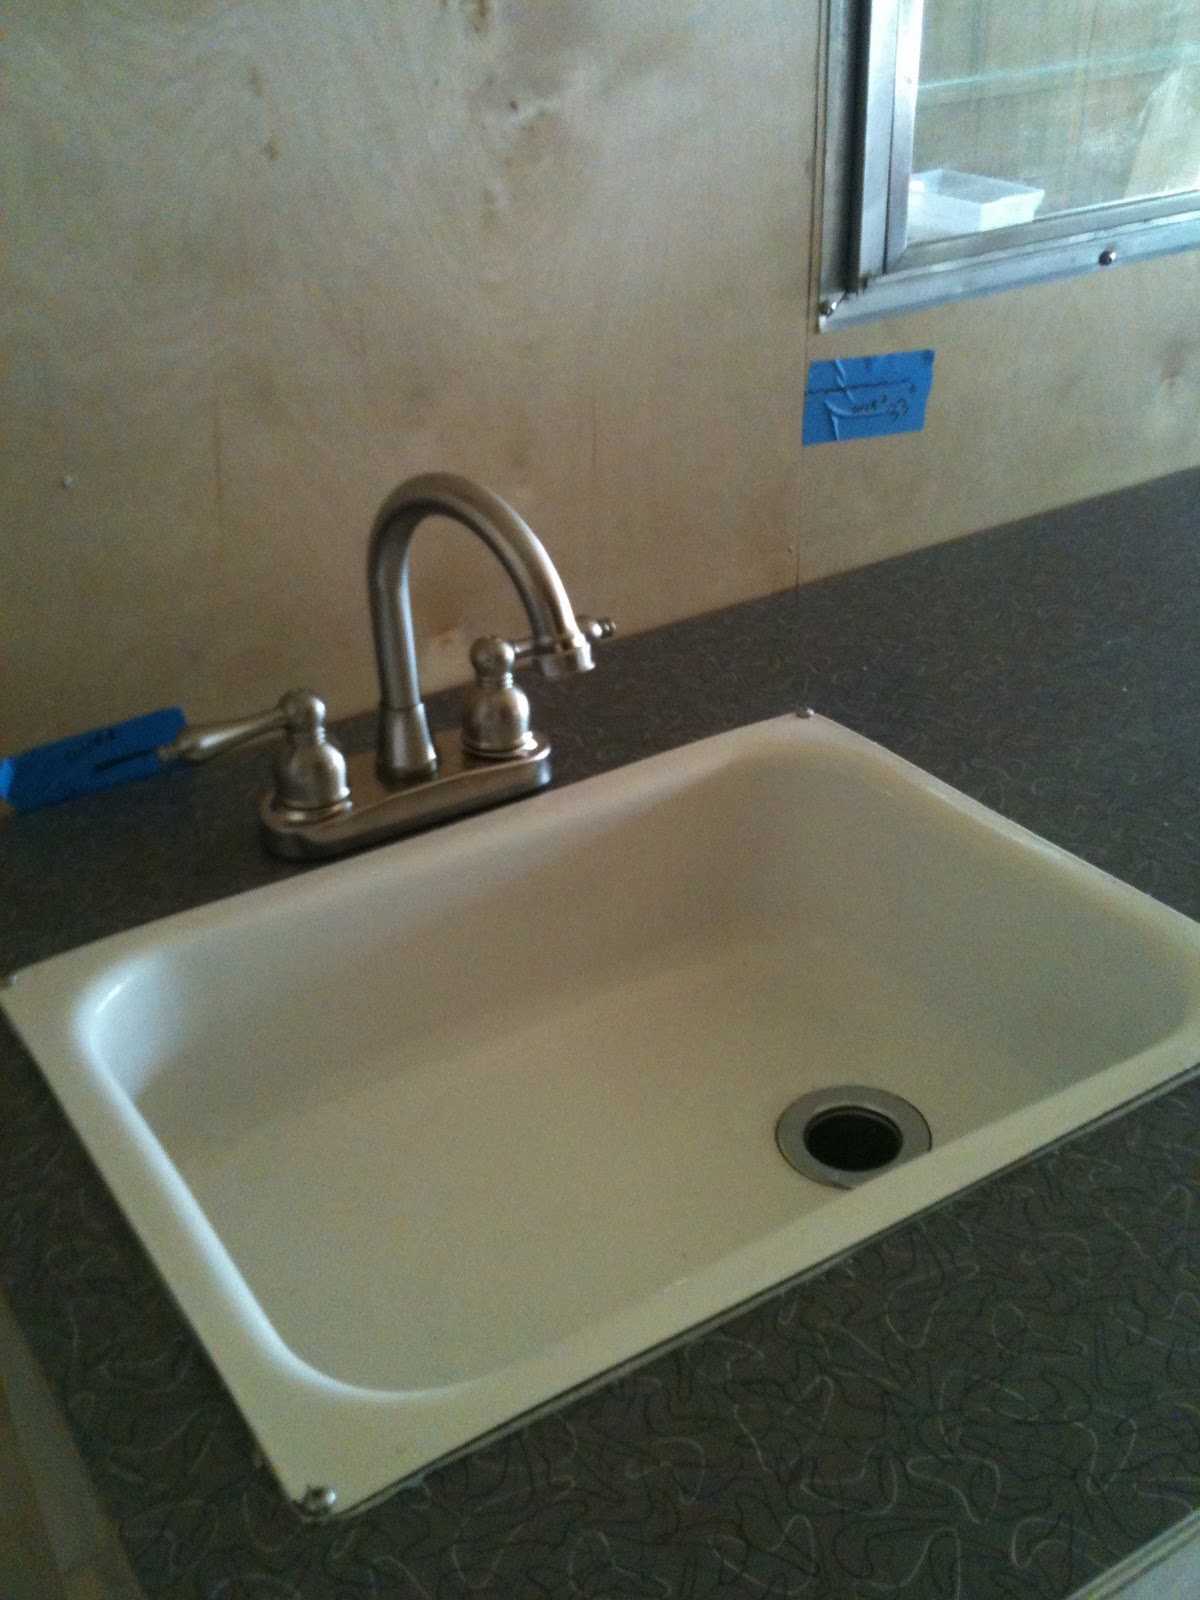
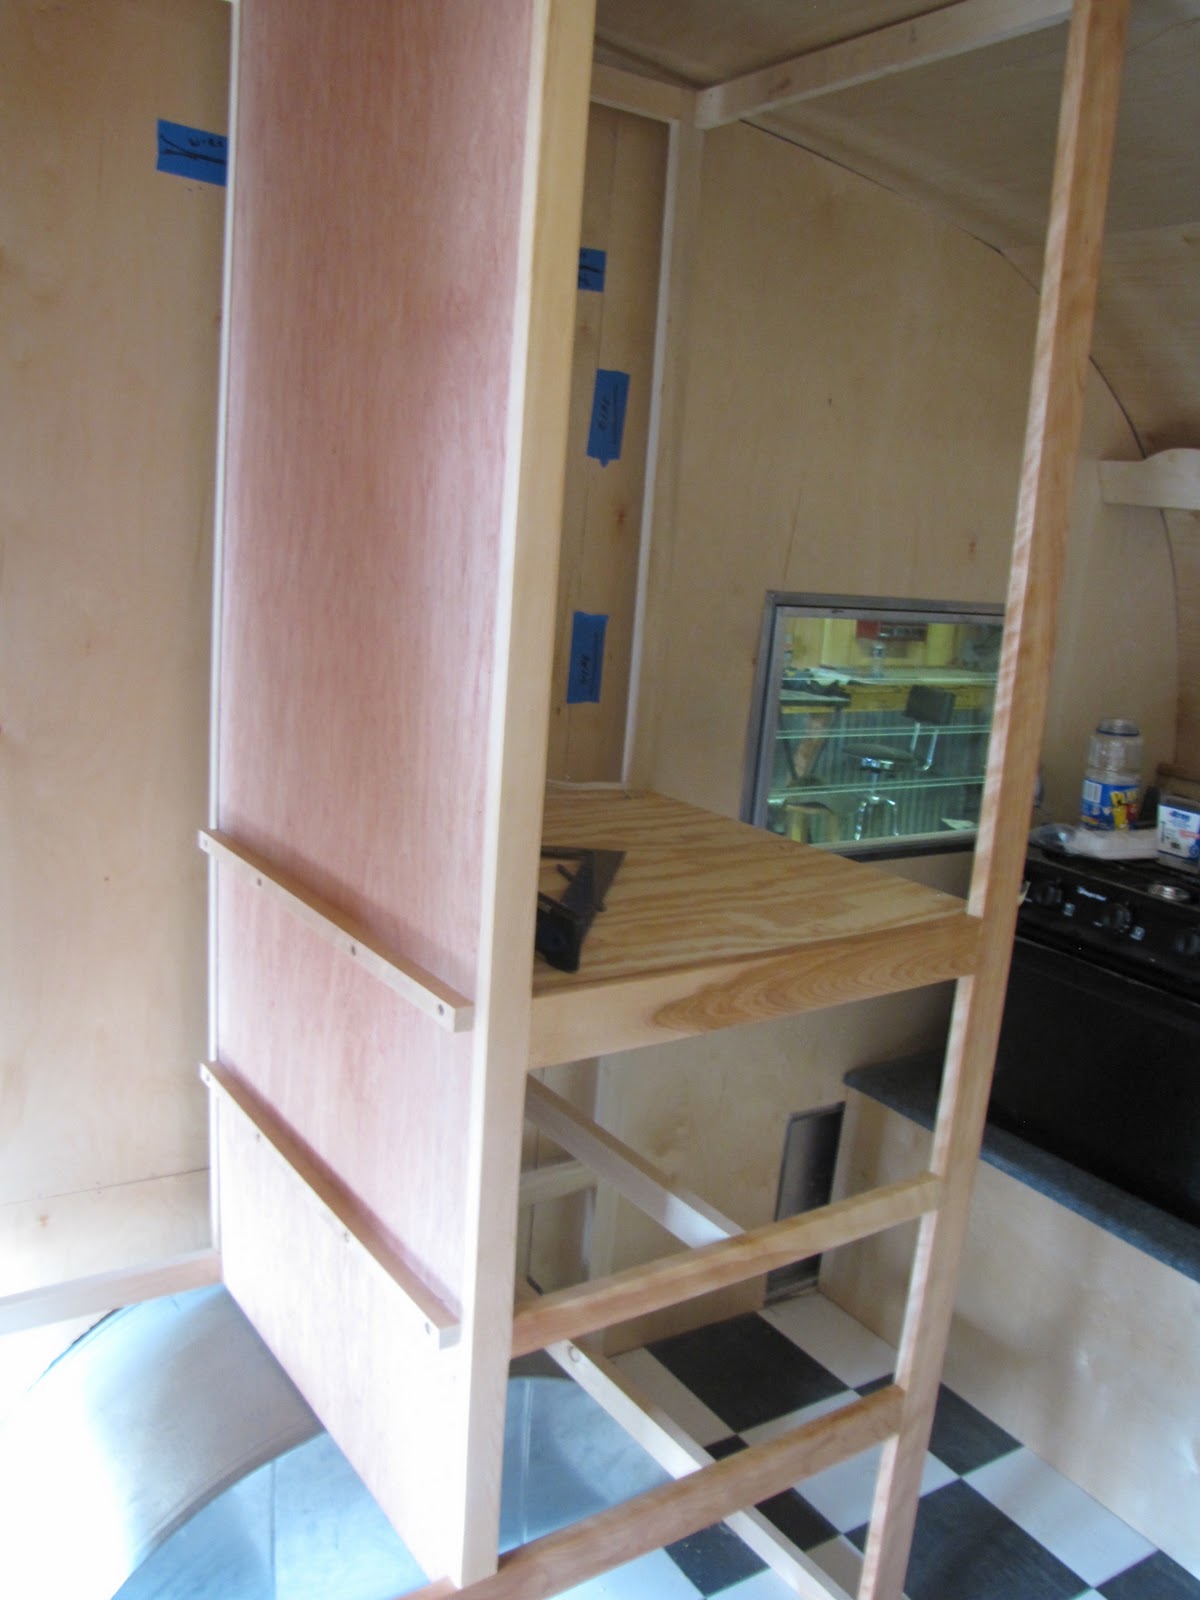
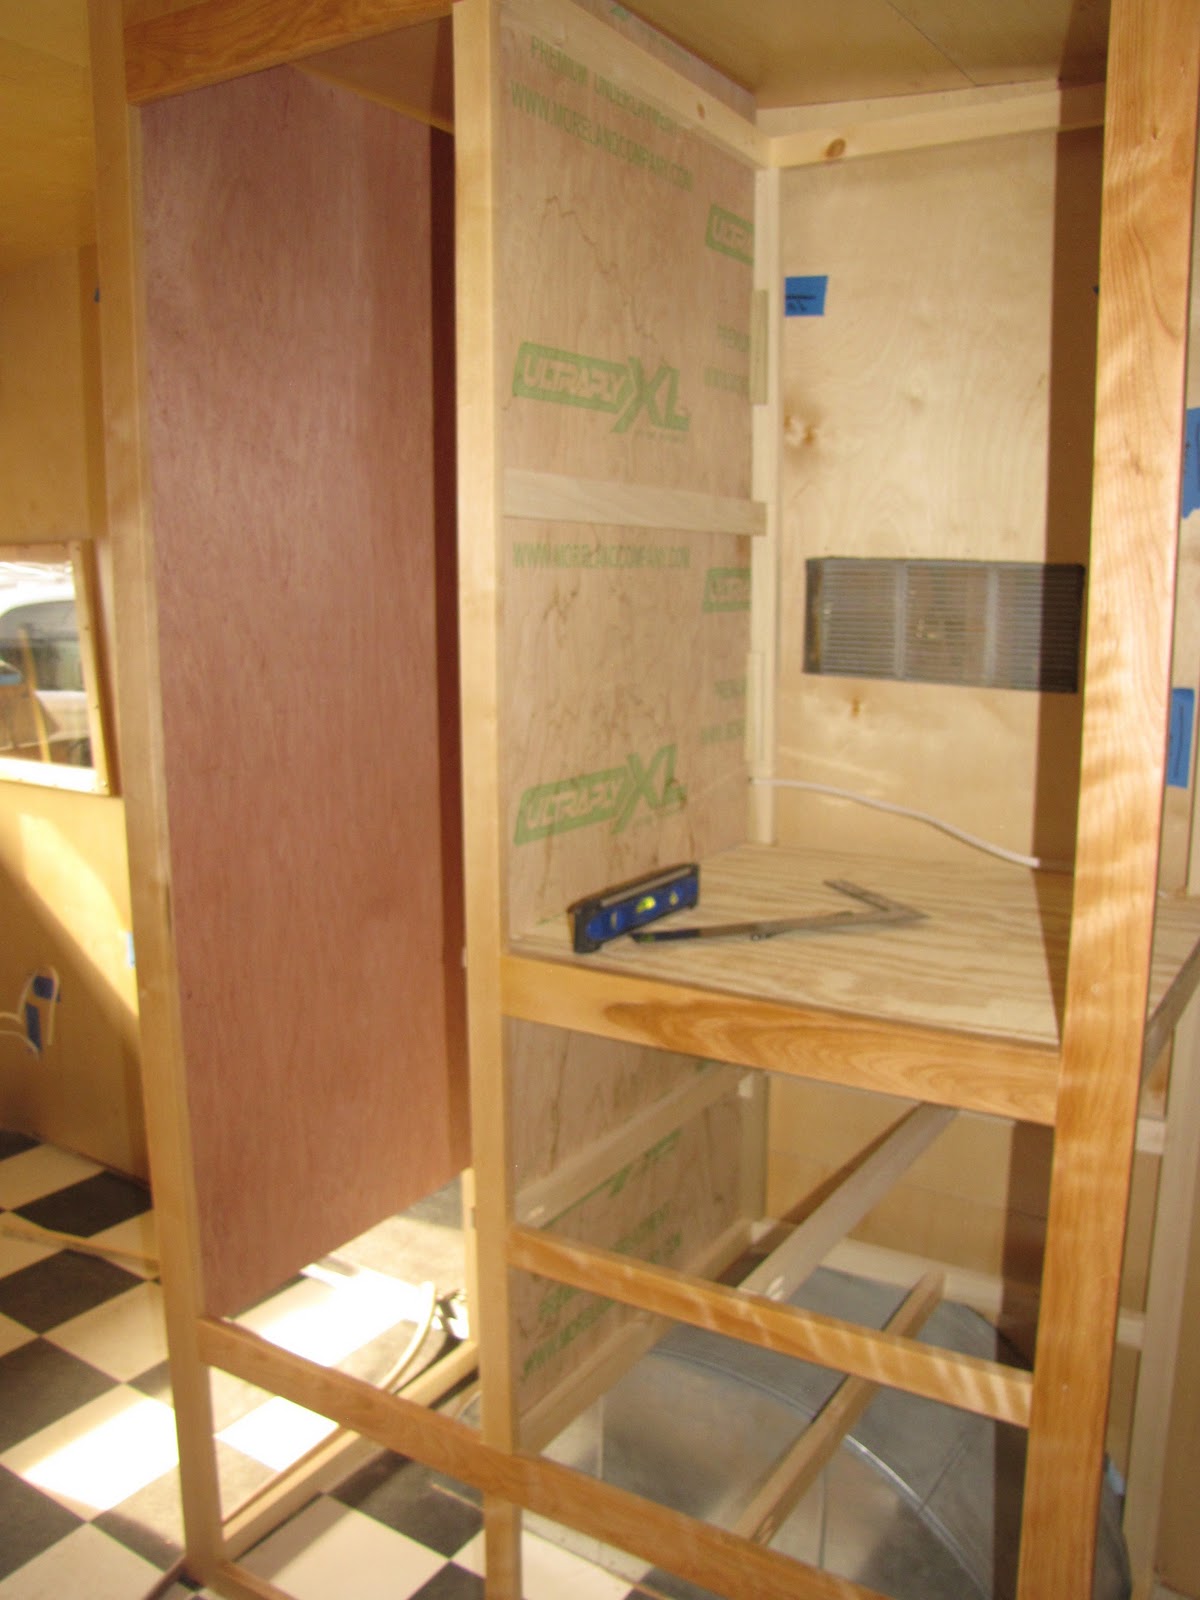
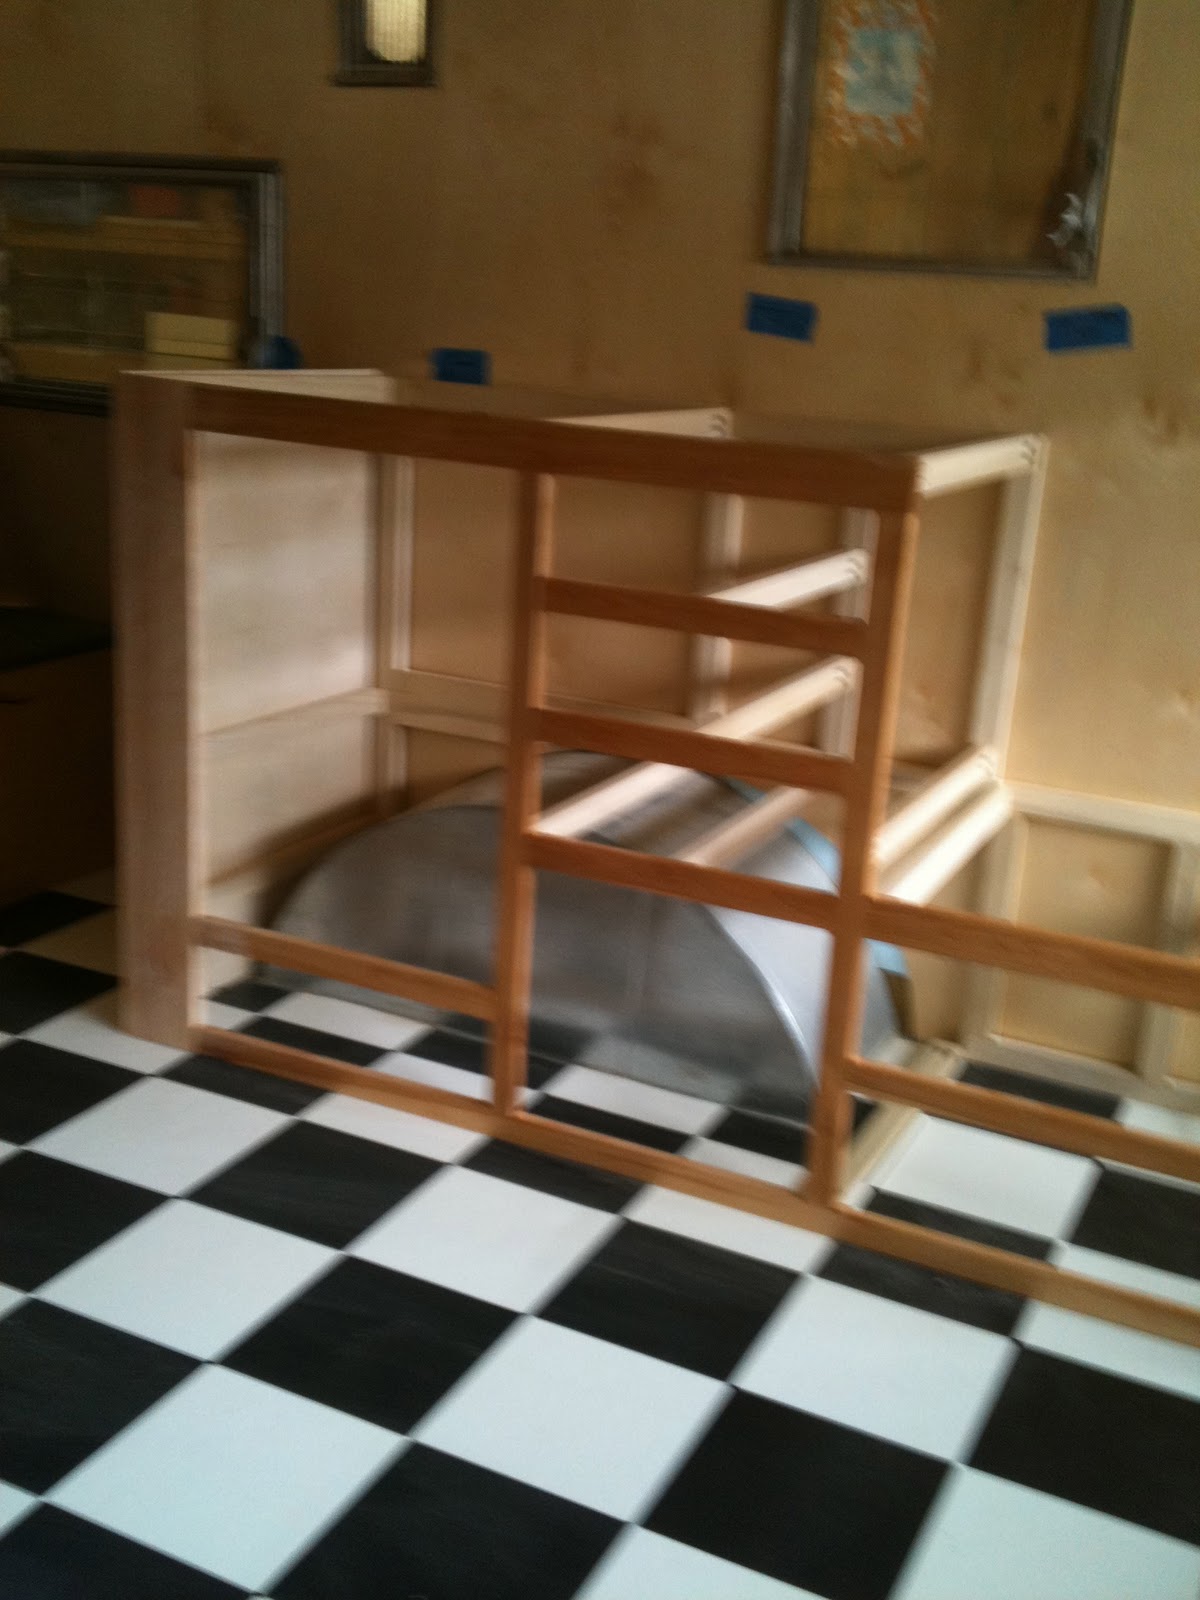
In these next two pictures you see the front of the kitchen cabinet, on the far right the gas stove will be placed in the center I have three drawers with a cabinet below. The far left will have cabinet doors with shelves behind the door and a drawer beneath. When the counter top is put on the sink will fit down in that space also.


Here the cabinet has been completed, and installed securely over the new fender well ready for counter top sink. Now for the other side.....


to be continued......


Tuesday, December 6, 2011

Making Sweet Pea look good from behind.

 March 20 2011


I found new reproduction tail light lens at Vintage supply company but could not fine new tail light's, so my son and I had to design a metal piece to snap rivet to the trailer that would hold the new lens. 


That wire that is sticking out is were the license plate light and trailer tag will go. Once you get into your trailer restoration you will see, if you can't buy what you need you are going to have to build it. That's all part of the fun!


I had already rebuilt this rear shelf time so that once we had the gaucho couch installed we could put it in.

Sunday, December 4, 2011

Putting windows back in the trailer, and designing frame for front windows

March 20 2011


I tried to work on the  windows every chance I had so that when I reached the point I could put them back in they would be ready. It took a lot of time cleaning and polishing, but they are now ready. I ordered some Bula tape in order to seal the windows. I put the windows back in with stainless steel screws.


The two front windows I traced an outline on poster board and took it to a glass shop and had new plexiglass cut to fit.  Shalie researched on the computer to find a rubber seal that I could  put around the edge of the plexiglass. I designed a Birch wooden window frame so that when I placed the rubber and glass inside the window opening and then pulled the wooden frame up tight water can not get into the opening. At least that is my hope, as these windows are notorious for leaking.   let you know later how it works .


This is the new plexi -glass, with rubber seal installed and pulled up tight from the inside with the Birch frame. I think it really looks nice. It was really a matter of trying to design a way to make this window better than new. 


The rear window had to be completely rebuilt plus putting a new screen in it. It took some time but I am pleased with the end result and  that is what matters. Getting that bead to stay in the channel when I was replacing the screen tried my patience. I can laugh about it now, but wasn't laughing at the time.  Ha Ha !